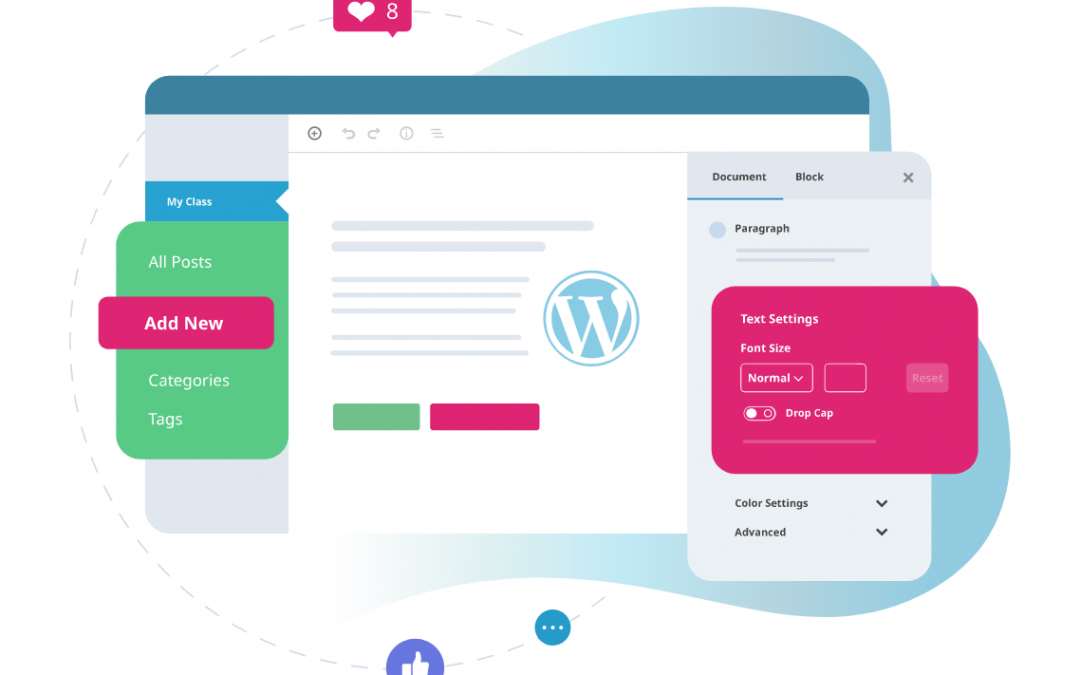
As part of our Jetpack features series, learn how to view how many people are visiting your site and what content is most popular. Google Analytics is set up on all of our sites and you can see these stats on your dashboard. However, if you want more data, you can also see additional WordPress.com’s stats using Jetpack.
Jetpack Site Stats is ON by default when you set up Jetpack. If you don’t see Jetpack stats in your dashboard, check to see if the chart is enabled.
Go to Jetpack > Settings
Go to the Traffic settings
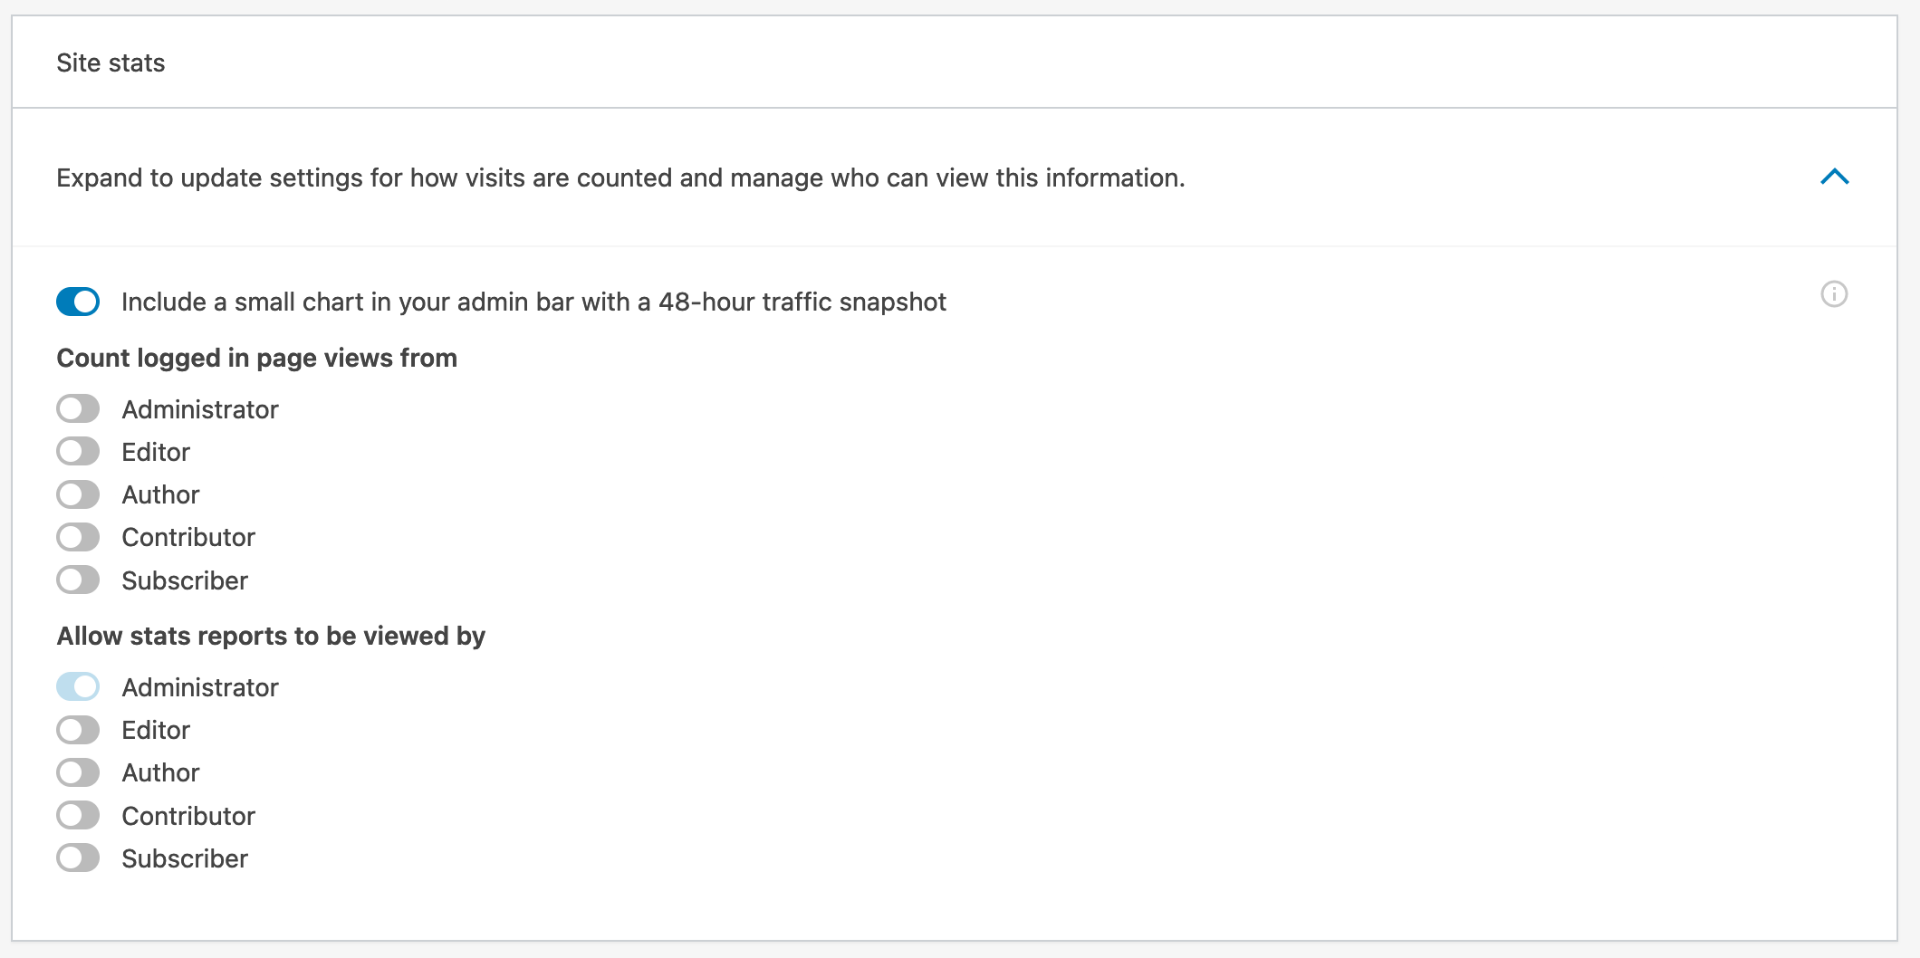
Click the down arrow in the Site stats box to expand the settings.
Check to see if “Include a small chart in your admin bar with 48-hour traffic snapshot” is ON.
You can also choose if your logged-in views get counted and who can see the stats based on their role on your site.
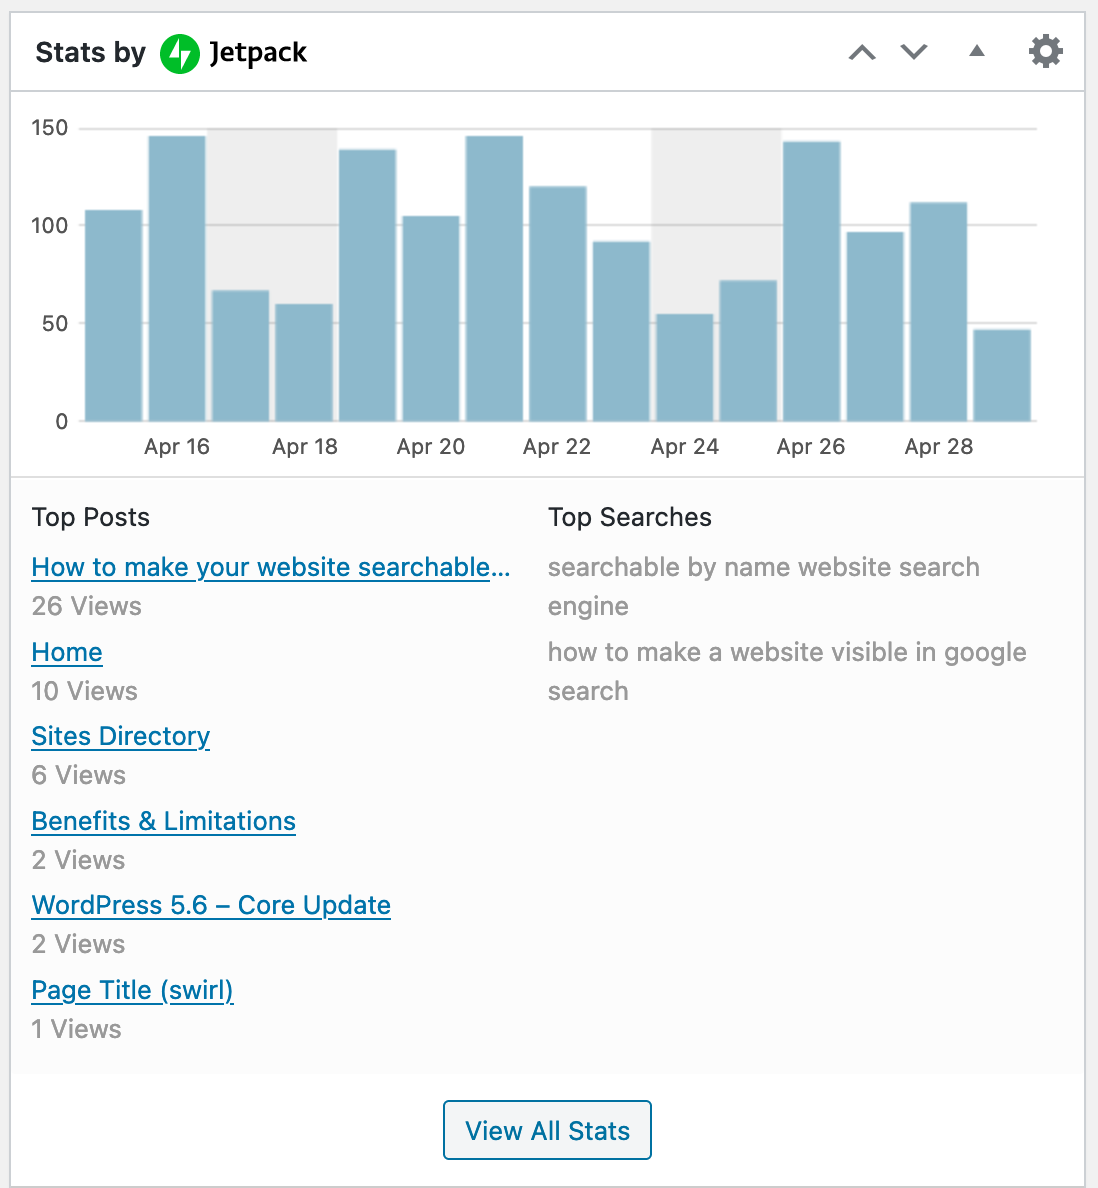
Stats by Jetpack on your Dashboard
You should now see a chart with data about visits to your site including the top posts and search terms people used to find your site. This includes today’s traffic. Stats are updated every 30 minutes.
View All Stats
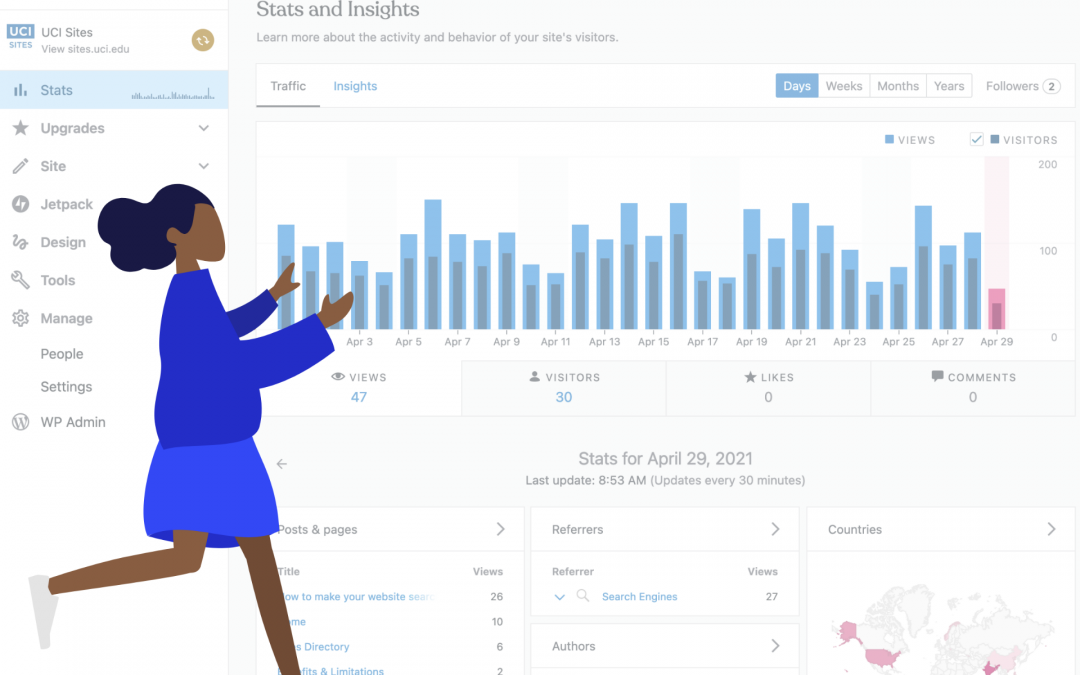
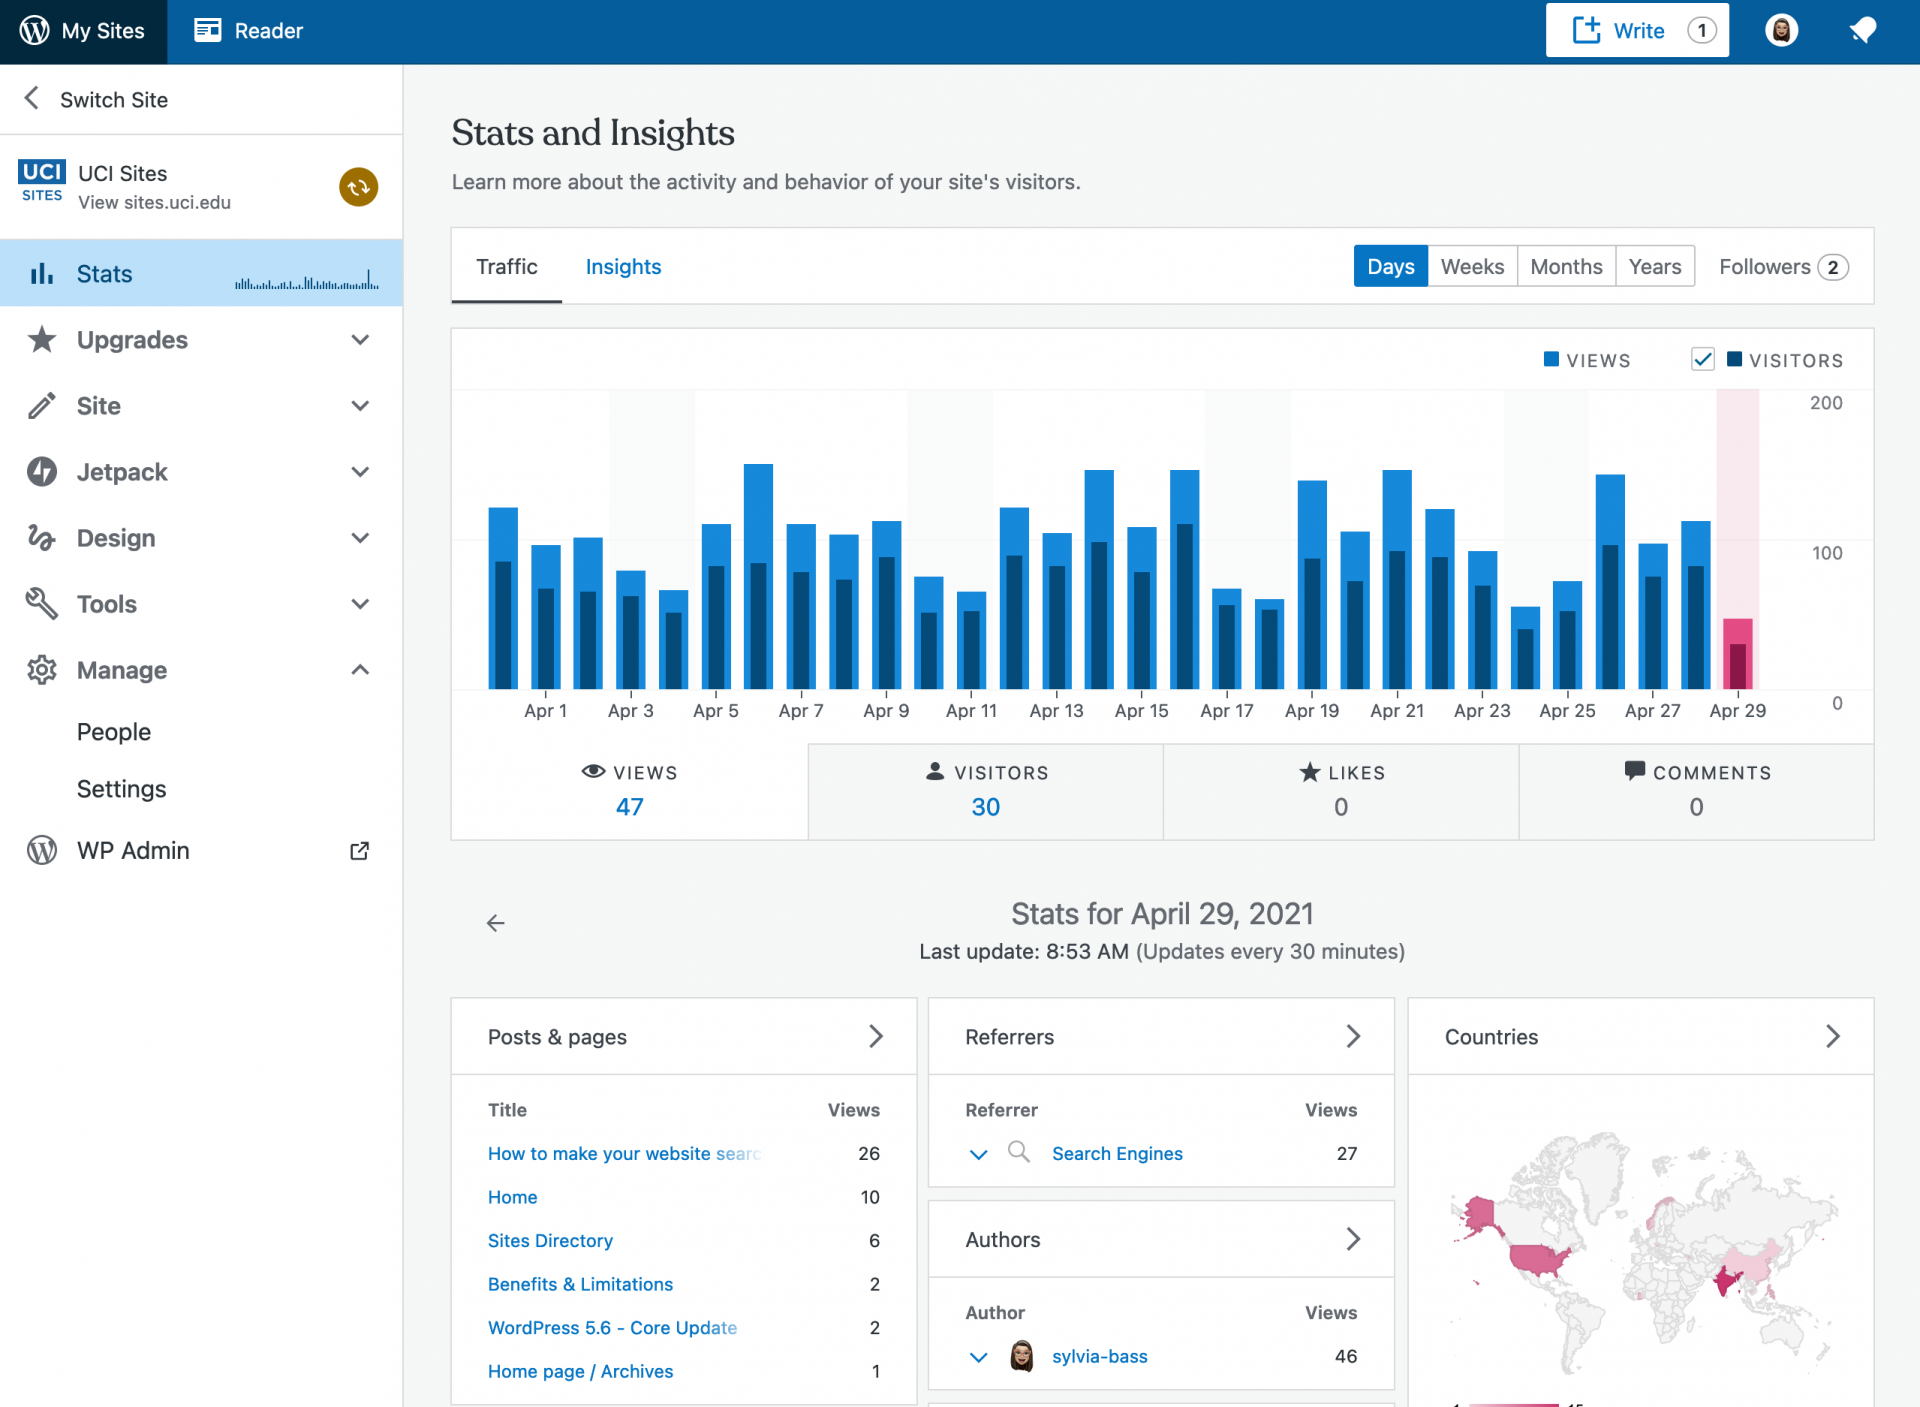
Do you want to see even more? Click the View All Stats button in the Stats panel. This will take you to WordPress.com where you can see more details on your site’s traffic including how people are finding your site (referrers), your top posts and pages, the search terms people are using to find your content, and the countries your visitors are coming from.
How to Deactivate Site Stats
Website tracker tools are no longer allowed on UCI Health and School of Medicine websites. You can deactivate Site Stats by using the instructions below.
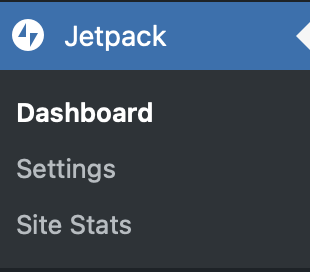
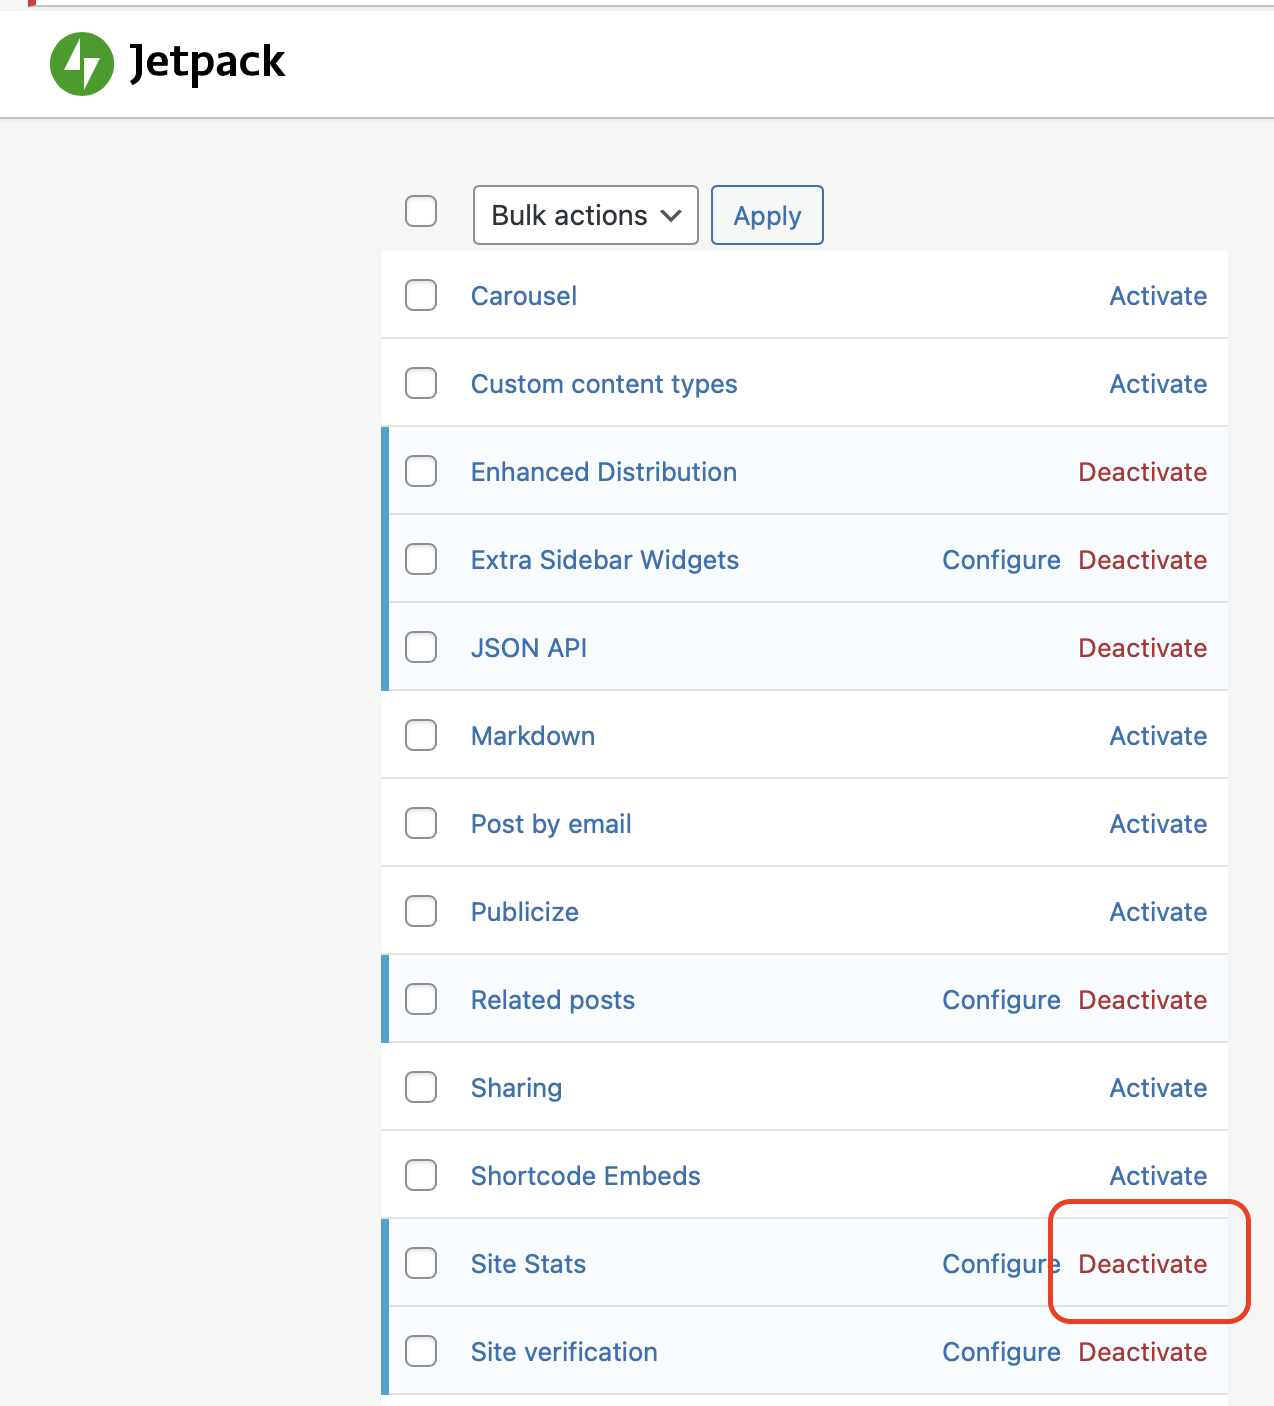
Go to the Jetpack > Dashboard menu in the left sidebar of your Dashboard.
At the bottom of the page, look for Modules in the list of Jetpack links.
Click Deactivate in the Site Stats row.
Site Stats in Jetpack will now be deactivated. The site will no longer track visitors using Jetpack, nor will the Site Stats module be displayed on the dashboard.
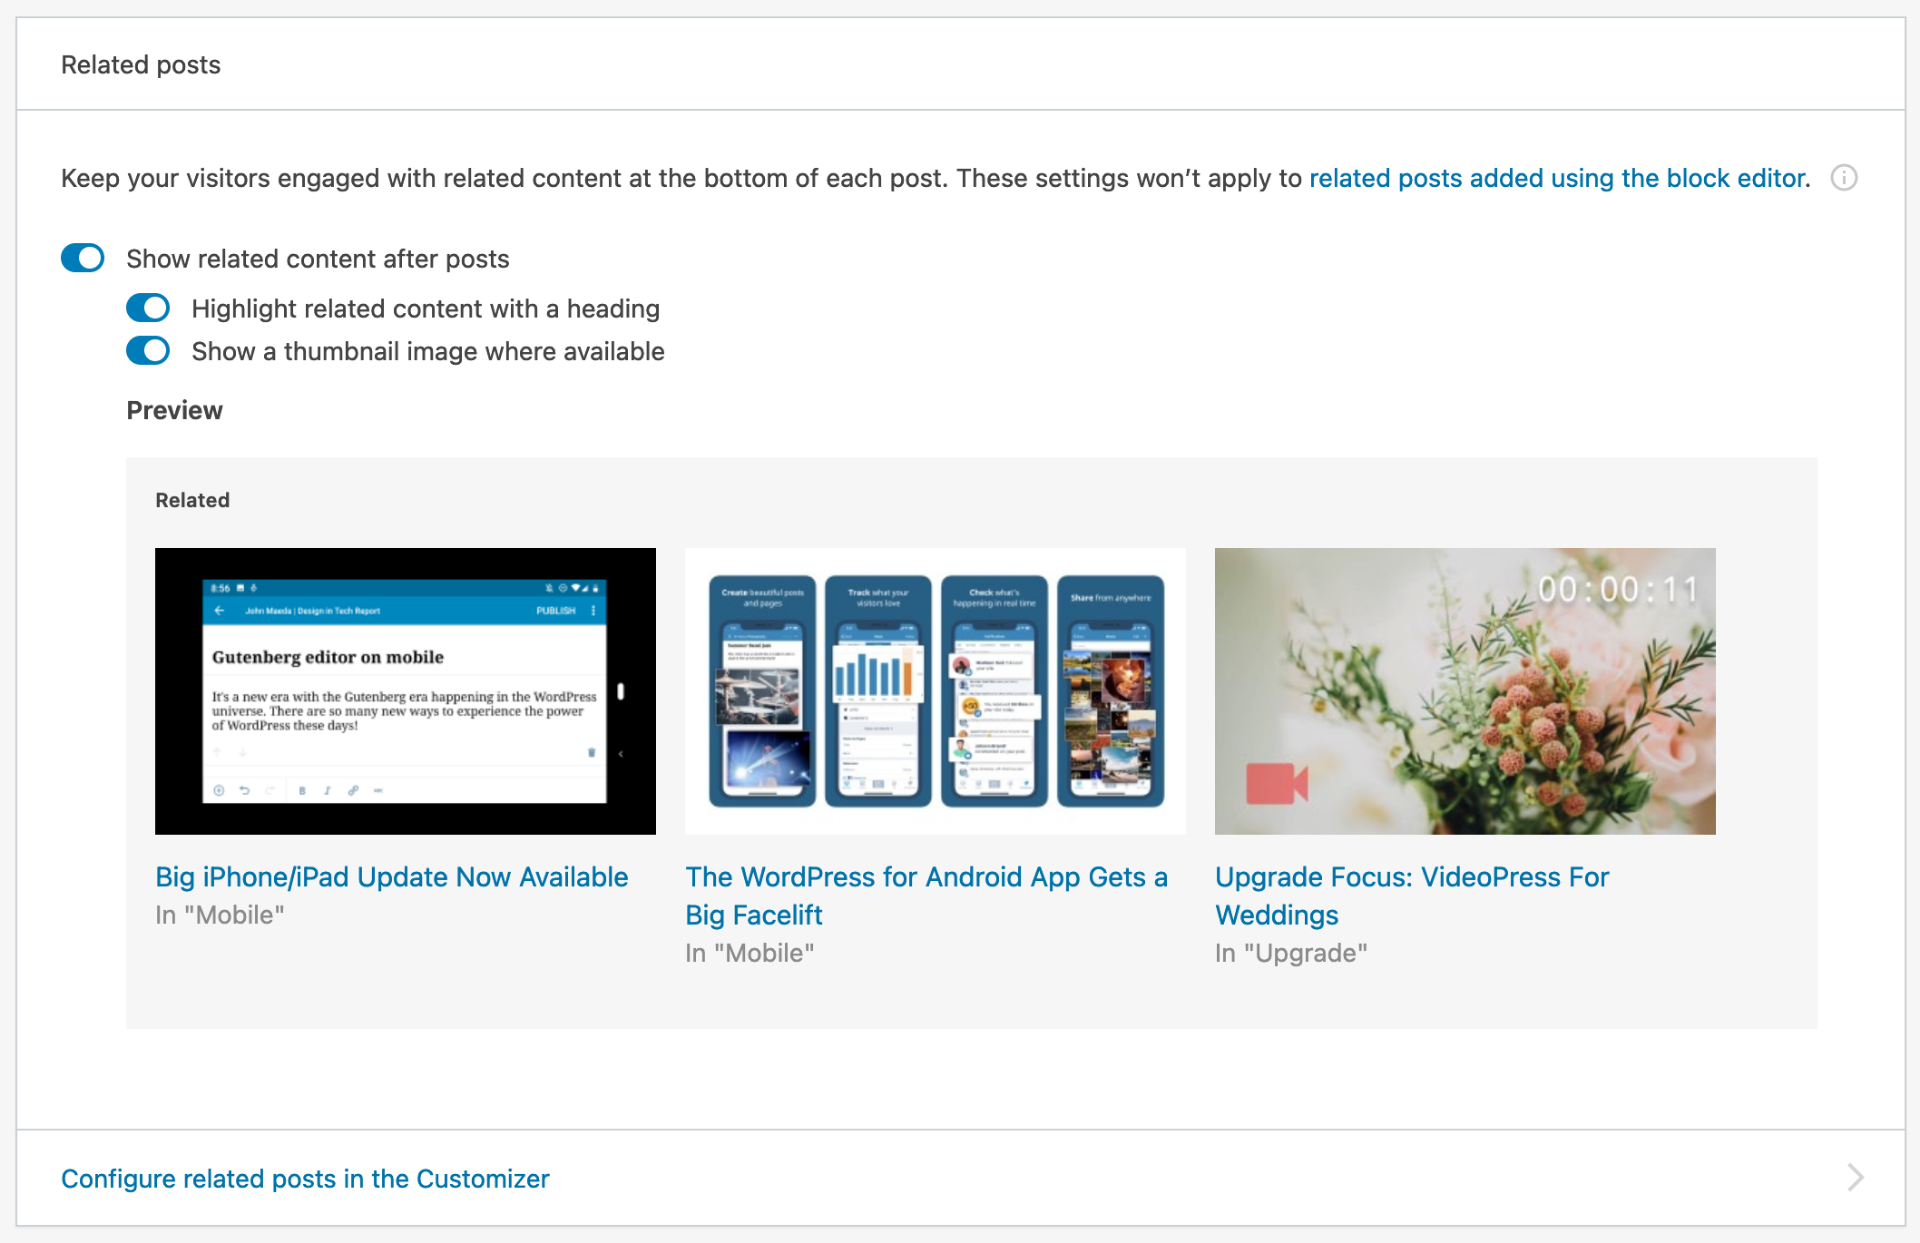
As part of our Jetpack features series, learn how to enable the Related Posts feature to display contextual posts your readers may be interested in reading. Jetpack does the analysis for you to display other posts from your website or blog that are similar in content. This can help increase your site’s traffic by keeping your readers engaged.
Toggle ON “Show related content after posts” and optionally “Highlight related content with a heading” and “Show a thumbnail image where available”.
You can also use the Customizer to adjust some of the settings. Click the “Configure related posts in the Customizer” link. There are a few more options there.
That’s it! Related posts should start appearing at the end of each post. If they do not, see the “Keep in Mind” section below.
Related Post Blocks
You also have the option of adding a Related Post Block to any post. You can only display one set of related posts per post. If you use the related post block, it will supersede the global settings. There are more settings in the block including how many posts get displayed. See below for an example of the Related Post Block.
Example of Related Posts Block
Keep in Mind
Related content will not appear unless Jetpack can show at least 3 good results. The more posts you have, the more likely you are to see related posts appear.
Related content is automatically generated based on the content and any categories and tags you use.
The maximum number of related posts you can display is 6.
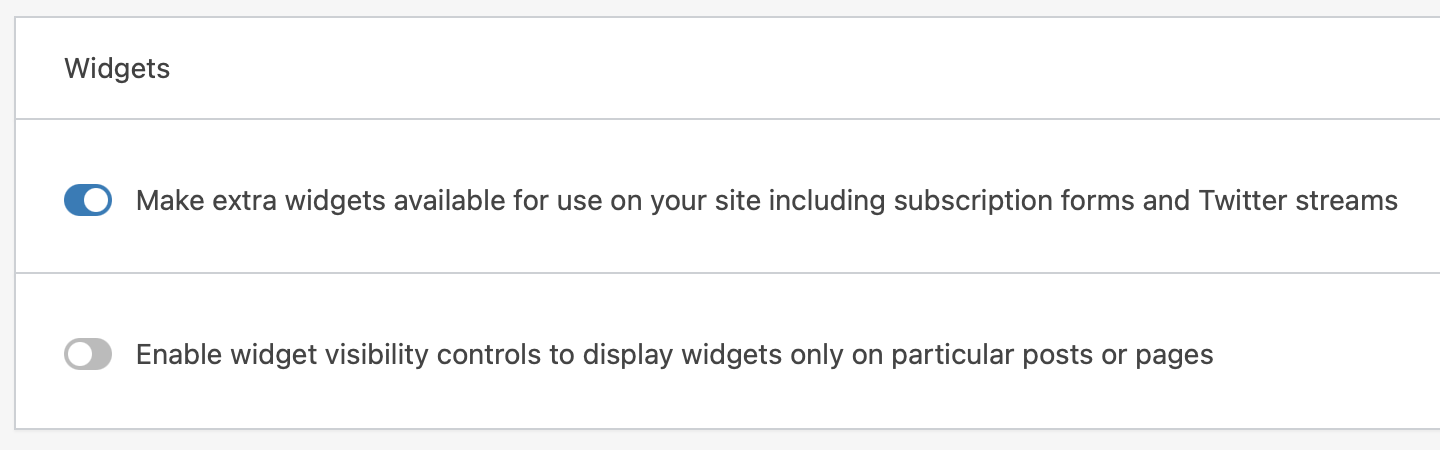
As part of our Jetpack features series, learn how to enable extra sidebar widgets to extend what your site can do. From Twitter timelines to a countdown for a big event, using Jetpack widgets is an easy way to add extra functionality.
As part of our Jetpack features series, learn how to enable the carousel slideshow to launch a gorgeous, full-screen photo browsing experience using an image gallery.
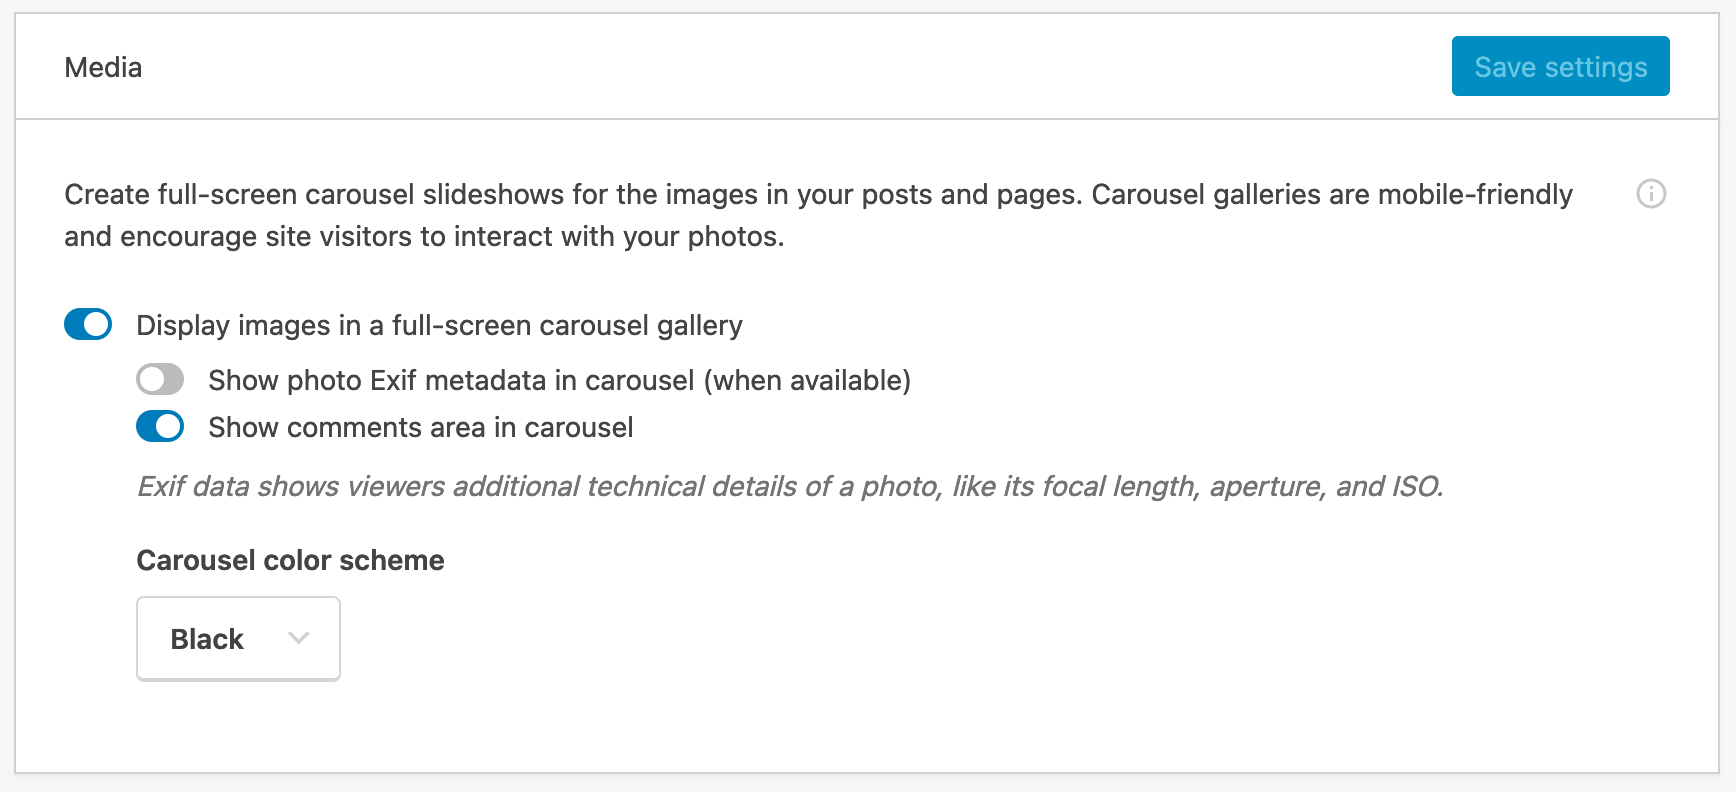
In the Media section, turn ON “Display images in a full-screen carousel gallery”
(Optional) “Show photo Exif metadata…”. This will show the camera details for the photo.
(Optional) “Show comments area in carousel”
Choose color scheme (black or white)
Click Save Settings (This should auto-save, but if it does not, click the Save Settings button.)
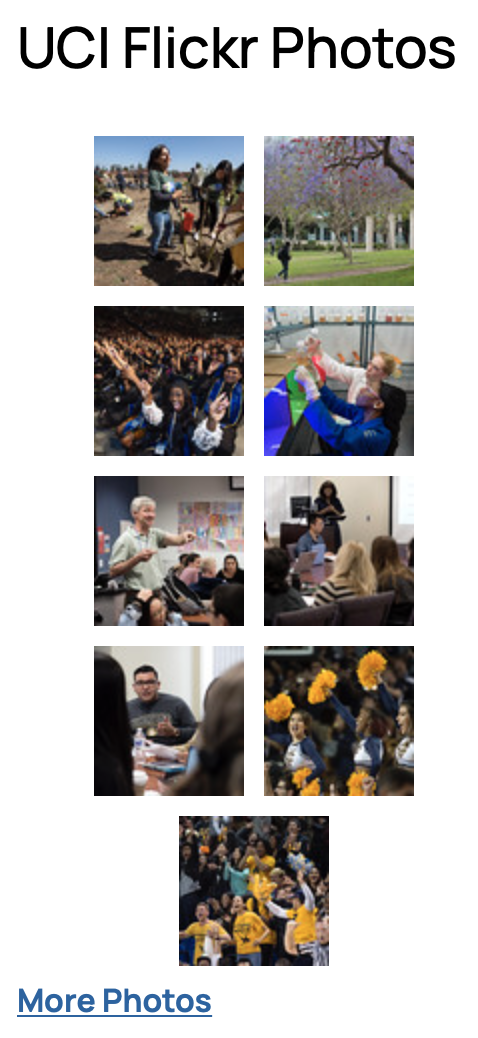
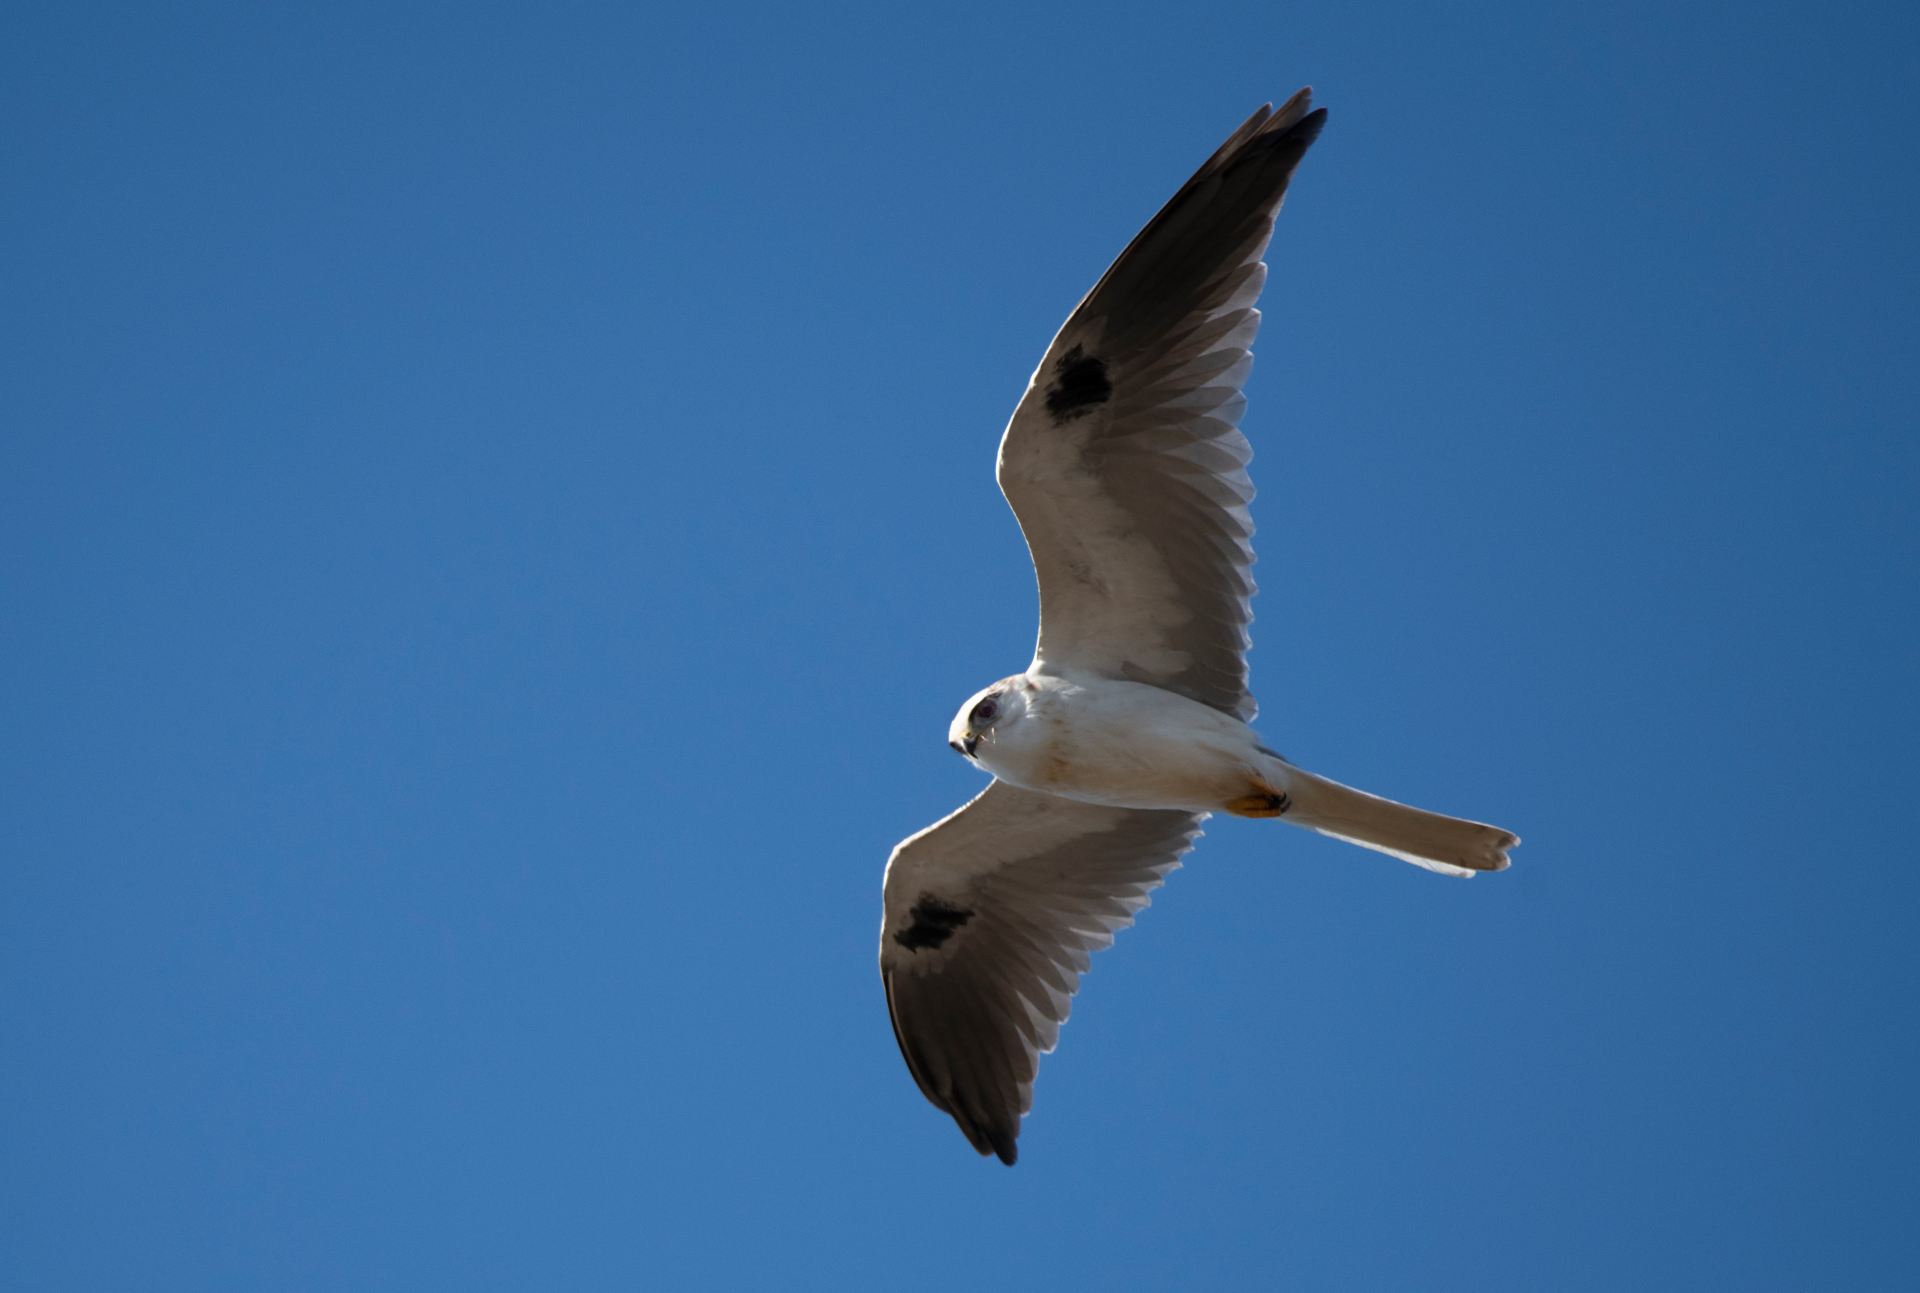
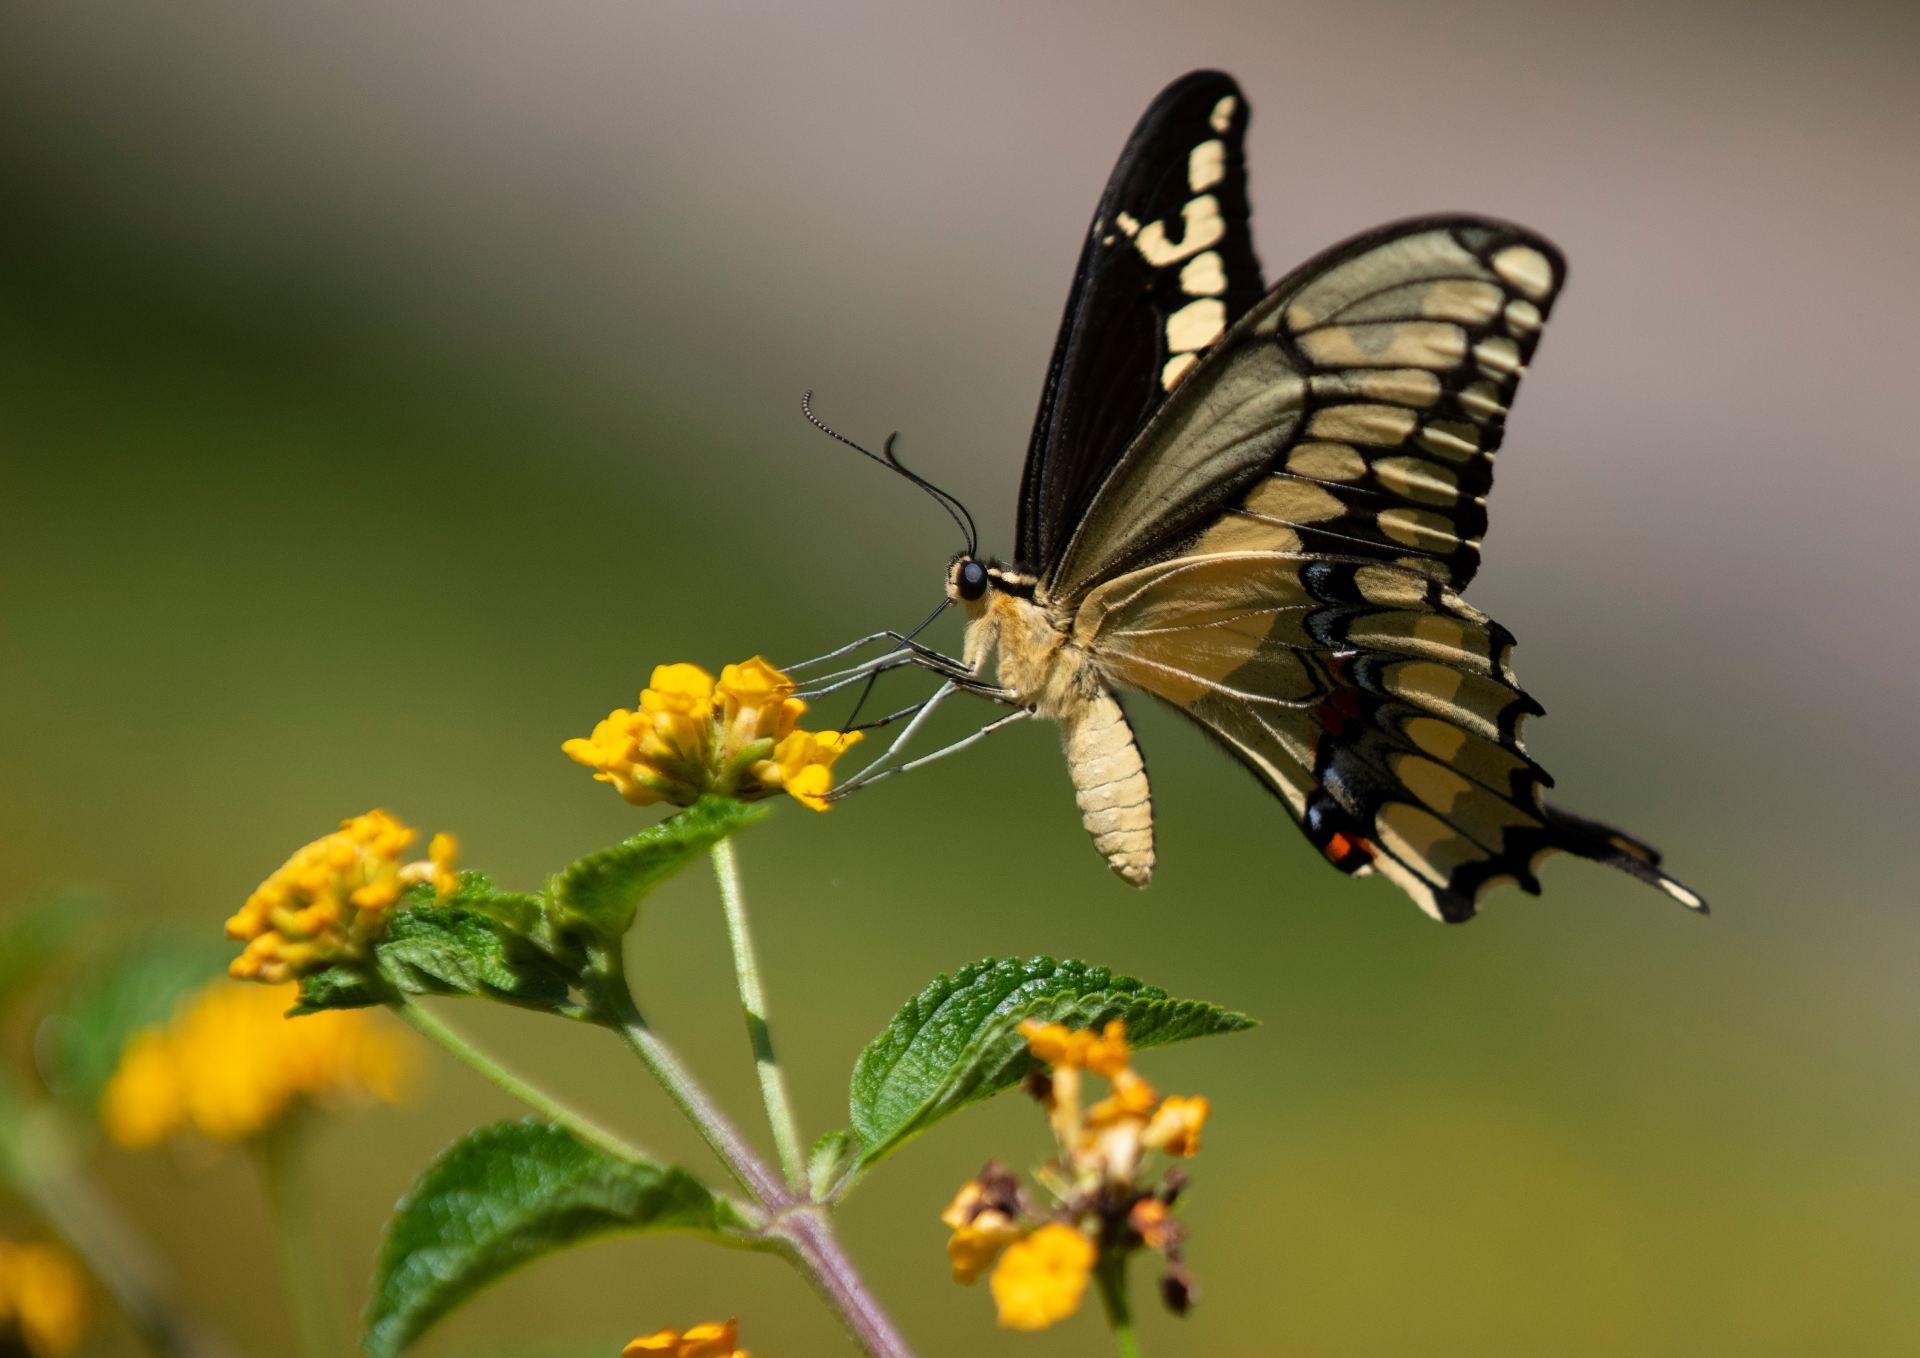
It’s that easy! When you add a gallery block, your readers will get to enjoy a beautiful carousel of photos. See the gallery below for some lovely photos of the flora and fauna on the UCI campus.
Example of a Carousel Gallery
(Click on any of the photos to open up the carousel.)
Flora and Fauna of UCI
University of California, Irvine photos, Courtesy University of California, Irvine
Tiled Galleries
Bonus Tip! The Carousel Gallery adds another option to your Media settings. You can opt to show your galleries in a cool tiled, mosaic format. Go to Settings > Media and check “Display all your gallery pictures in a cool mosaic.”
As of December 2020, UCI Sites is now hosted by CampusPress, a leading provider of WordPress for higher education. CampusPress also does our technical support and is available 24/7.
You may get an email from time to time from CampusPress (contact@CampusPress.com) related to your website. That is okay. It may look a little odd because you are used to getting support email directly from an @uci.edu account.
If you ever have any questions or concerns, contact us! We’re still managing the service and are always happy to help.