If you want to start doing some machine learning with Tensorflow-GPU, here is a nice concise guide (developed from my experience):
Note: Much of this guide covers https://www.tensorflow.org/install/install_windows. However, I provide some additional notes.
Step 0) If you have tensorflow or tensorflow-gpu already and they are not working. I would advise to uninstall them both. Make sure you uninstall protobuf too just in case.
If you already have Python, skip to Step 2.
Step 1) First, make sure you install Python. Specifically Tensorflow requires Python 3.5 or 3.6. Go for one, but not both.
Add it to your PATH environment variable in the installation process. Also you can allow the maximum PATH length to exceed its normal limit.
https://www.python.org/downloads/release/python-350/
This will help you use the Pip installation tool over the Windows Powershell. Install Pip over the Powershell with:
python get-pip.py
And upgrade pip with:
python -m pip install –upgrade pip
(If you are interested in using Anaconda for a more flexible Tensorflow environment, you can do so following in https://www.tensorflow.org/install/install_windows after Step X)
Step 2) Second, install CUDA Toolkit 8.0 at https://developer.nvidia.com/cuda-80-ga2-download-archive
Remember, 8.0, not 9.0. If you have downloaded 9.0 on accident, uninstall it over control panel (there are several programs that were installed, just remove one at a time).
There are two parts to installing 8.0. A Base Installer and a Patch. Run the Base Installer first, then the Path. Use express installation to avoid any troubles with looking to see if you have the correct drivers and files later. After installation, restart your computer and make sure you that the CUDA PATHS are set to the CUDA V8.0 Toolit directories.
Step 3) Now download and extract the cuDNN v6.1 files from https://developer.nvidia.com/cudnn.
For this, you first need to create a free account. Then, once logged in, follow the above link and click download. Find “Download cuDNN v6.0 (April 27, 2017), for CUDA 8.0“, click it, then click the “cuDNN v6.0 Library for Windows 10” link. The page should look like the page in the image below:

Download and extract the Library in any folder, INSTALLATION_FOLDER, that you choose. Then, go to your Windows Environment Variables settings, and add “INSTALLATION_FOLDER\cuda\bin” to the PATH environment variable (this folder should have “cudnn64_6.dll” in it). For example, if your INSTALLATION_FOLDER is “C:\Important_Files”, then you will add “C:\Important_Files\cuda\bin” to your PATH. (For a tutorial on adding directories to your PATH, see here or just do a Google search.).
Step 4) Check that your GPU card is compatible with CUDA Compute Compatibility 3.0 or higher at https://developer.nvidia.com/cuda-gpus.
Step 5) Open up a Windows Powershell with Administrator Privileges, and input the following command to install Tensorflow-GPU (for GPU compatible version).
>> pip install –upgrade tensorflow-gpu
Hopefully, at this point you have not gotten any errors. If you have problem installing tensorflow-gpu, it might be a problem with Python or pip rather than from the previous steps.
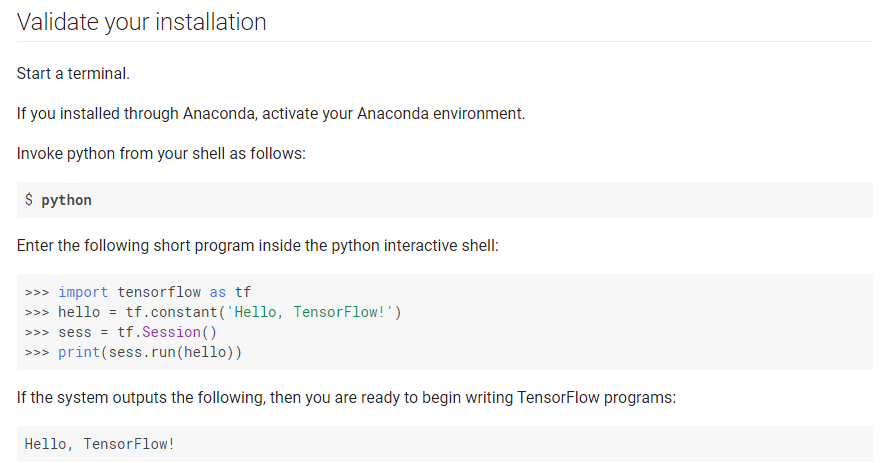
Check if Tensorflow-Gpu has been successfully installed following commands directly from the Tensorflow installation page:
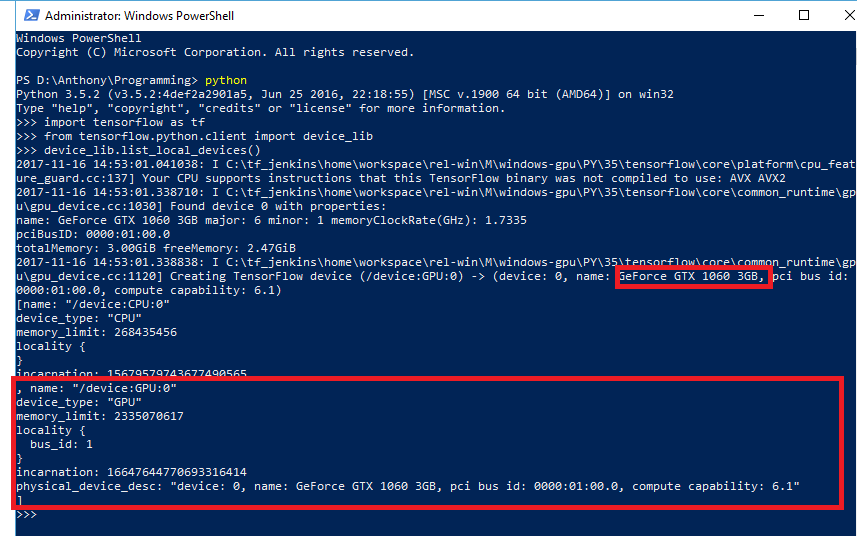
Step 6) At this point, you can check if your GPU can be recognized by Tensorflow-GPU.
The commands over the Powershell are:
python
>> from tensorflow.python.client import device_lib
>> device_lib.list_local_devices()
If it shows your CPU and GPU (like in the image below), then it looks like you are good to go!!
Note: If you get some issues with your GPU not being detected, then somewhere in the above steps (probably 2-4) there may have been a path or installation error.
Also, if you mistakenly installed both Tensorflow and Tensorflow-GPU, you should uninstall Tensorflow and Protobuf, then only install Tensorflow-GPU.
That’s it from my side!
Hope it helps!
Regards,
Anthony