In order for students and visitors to schedule appointments, offices must have configured a master calendar, and staff must have their availability indicated in the tool. This document details how staff can update their own availability.

Step 1
Navigate to the “My Calendar” tab, and then click on “My Schedule”
Step 2
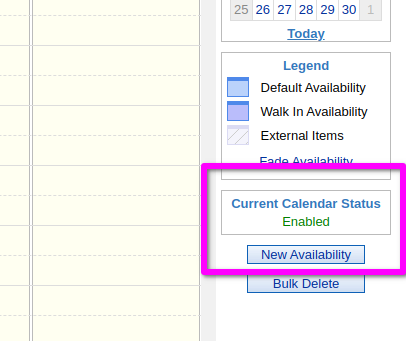
Towards the bottom right of your screen, check that the current calendar status is “Enabled”, and then press the “New Availability” button
If the current calendar status is not enabled, please double check that you’re on the right calendar; if you are, then contact an Office Manager for your group to re-enable the calendar.
Step 3
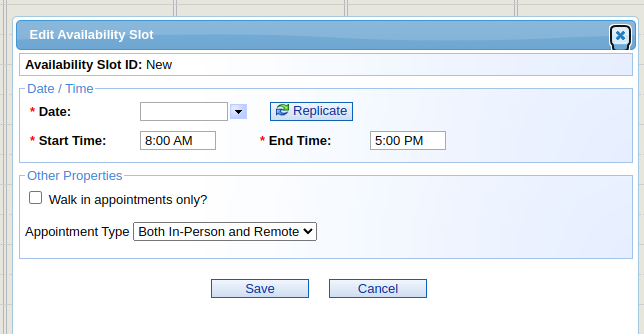
Set up your new appointment slots, and then press the “Save” button.
After completing the steps above, you should have a set of new available appointment slots ready for your students or office visitors to schedule. If you run into any issues, please let us know.