Font Awesome is a widely-used icon set that gives you scalable vector images that can be customized with CSS. With over 1,600 icons in the free set, you should be able to find an icon to suit your needs.
Advanced Feature
Using Font Awesome is a more advanced feature and requires being able to add a script tag to your site and edit some simple code when you want to add icons.
Adding a Font Awesome Kit Code to your site
You will need to create your own Font Awesome Kit. See the instructions below.
To be able to use Font Awesome, you will need to be able to add the code to your site. This requires being able to add it to the <head> section. In most cases this requires being an administrator on the site.
Divi Theme
If you are using the Divi theme, the ability to add the Kit code to your theme is built in.
- Go Divi > Theme Options
- Click on the Integration tab in Divi Theme Options
- In the Add code to the <head> of your blog section, paste the code from your Font Awesome kit.
- Click Save Changes.
- You will now be able to use Font Awesome icons on your site.
Non-Divi Themes
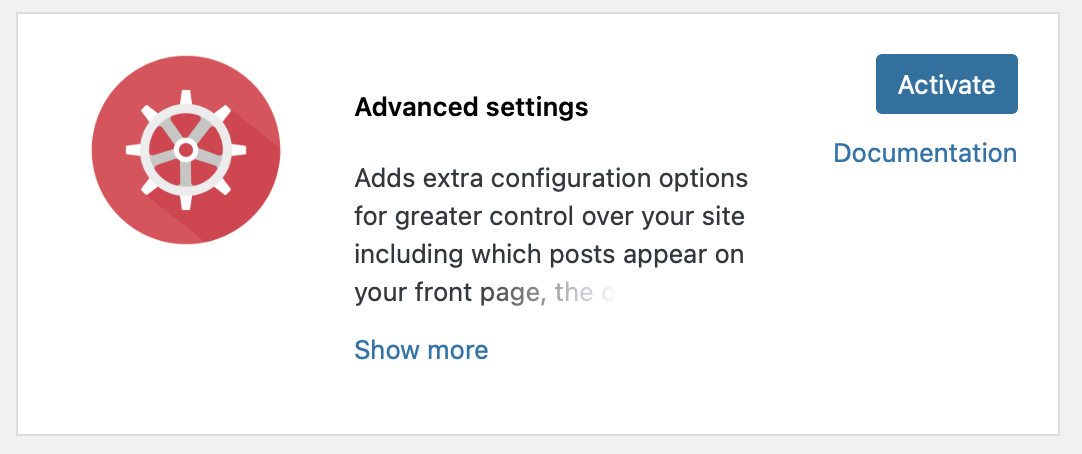
If you are not using Divi as a theme, fear not, you can still add the code to the <head> section of your site. You will need to enable the Advanced Settings plugin first.
- Go to Plugins > All
- Find Advanced Settings and click the Activate button.

- Once activated, go to Settings > Advanced Settings
- Scroll down to Additional Code and paste in your Kit Code in the Header Tag (low priority) field.
- Click Save Changes
How to add Font Awesome icons to your site
The first step is finding the perfect icon. Go to Font Awesome’s website and click the Icons menu at the top to see all of their free and pro icons.
Finding the right icon
- Type a search term in the search field. You can use the filter for Free icons to limit to the set of icons to the ones that don’t require a paid license.
- For example, if you are looking for an alert icon, type “alert”. You will see a set of icons that fit that description. Find the one that best suits your needs.
- Alternately, you can just browse the 1600+ free icons by scrolling through the entire set.
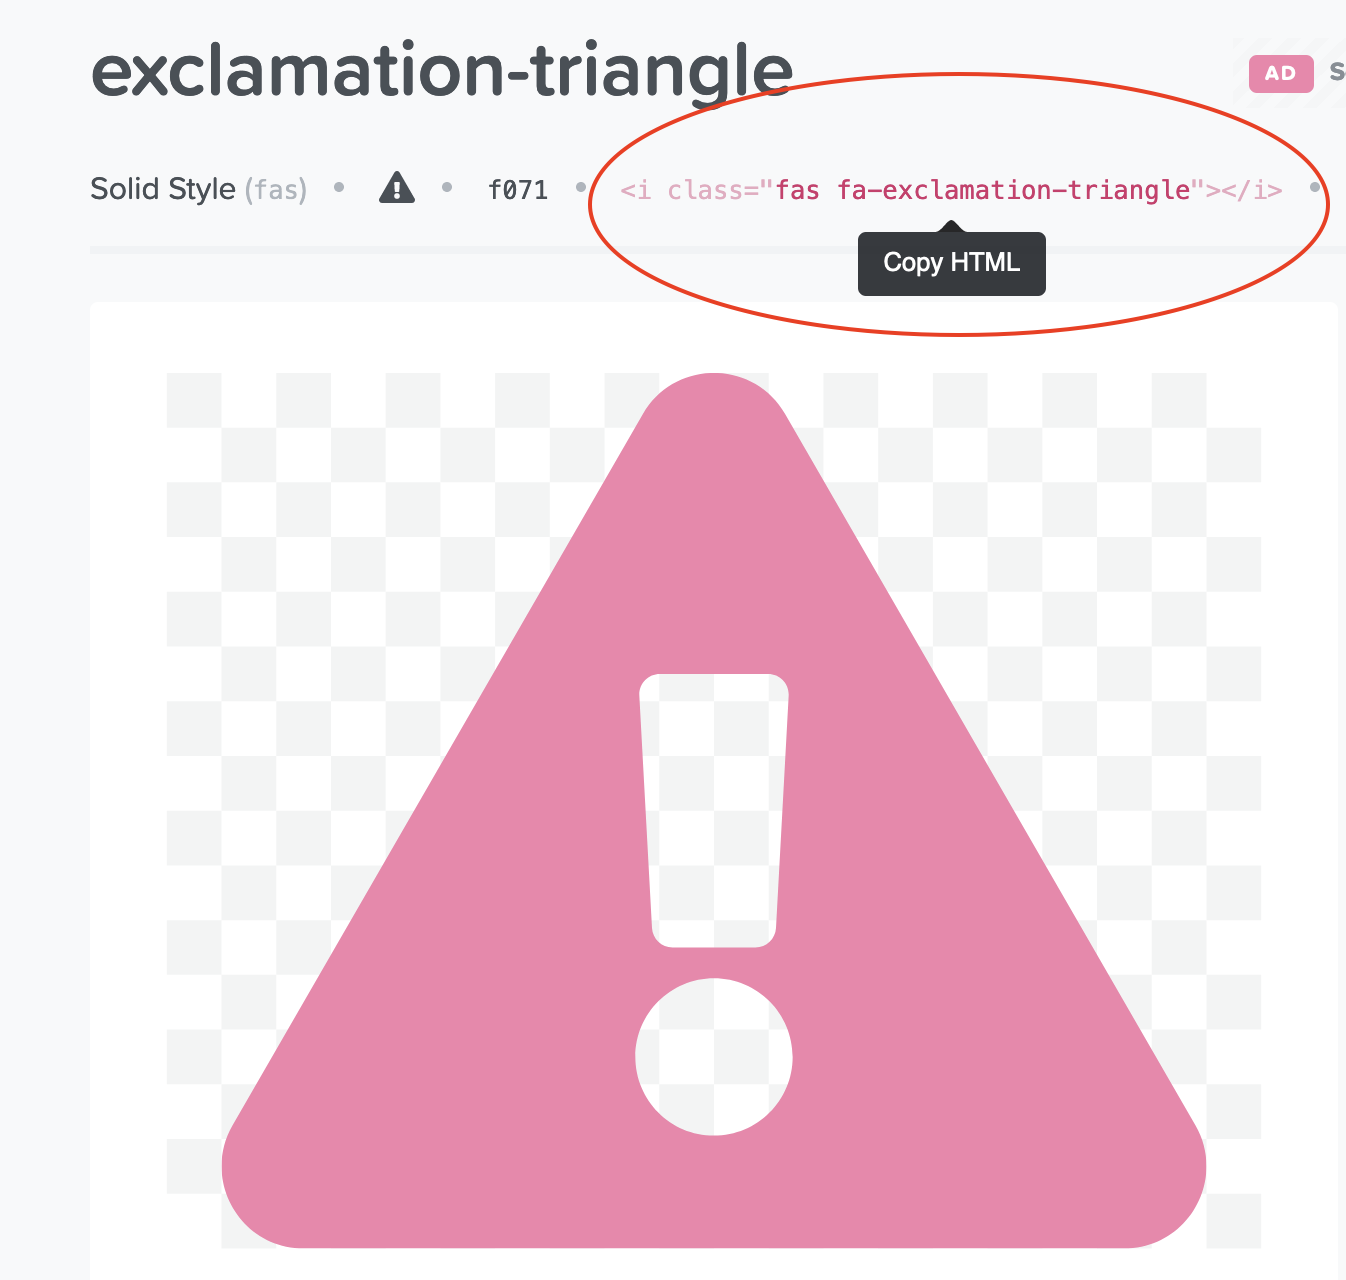
- When you find one you like, click the icon to see the details of that icon including the HTML code to use the icon on your site.
- Copy the HTML code provided. It will start with <i class=

Using the Icon Code
Now that you have found the perfect icon, it’s time to add it to your site.
Block Editor
If you are using the block editor, we recommend using the Custom HTML block. While you can edit some blocks as HTML, it doesn’t always work smoothly. Using an HTML block seems to work the best.
- Add a new Custom HTML block
- Add the Font Awesome code where you want the icon displayed along with any additional content. You will need to add some basic HTML like paragraph tags, header tags, etc.
- The icon will be the same size as your text. If you want to change the size, you can use a CSS class to make it bigger or smaller. Font Awesome has a great page explaining how to use these classes and where to put the code.
- You won’t see the icon in your block while editing, but you can Preview the page and you will see the icon displayed. If you do not see the icon, make sure you have added the Font Awesome Kit to your website. The icons are pulled directly from Font Awesome’s website.
Example HTML Code
<p><i class="fa-solid fa-hand-wave"></i> Hello World!</p>
Hello World!
Example output of the code above.
Using FontAwesome in Divi
If you are using the Divi theme and/or page builder, you can also use Font Awesome icons. In some ways it is easier since you see the icon displayed while still editing. You don’t need to Preview to see the changes.
In Divi, you can use a Font Awesome icon in any module that allows you to edit in the Text tab (which is HTML) as well as the Visual tab.
- Edit the block where you want to add an icon, for example a Text module.
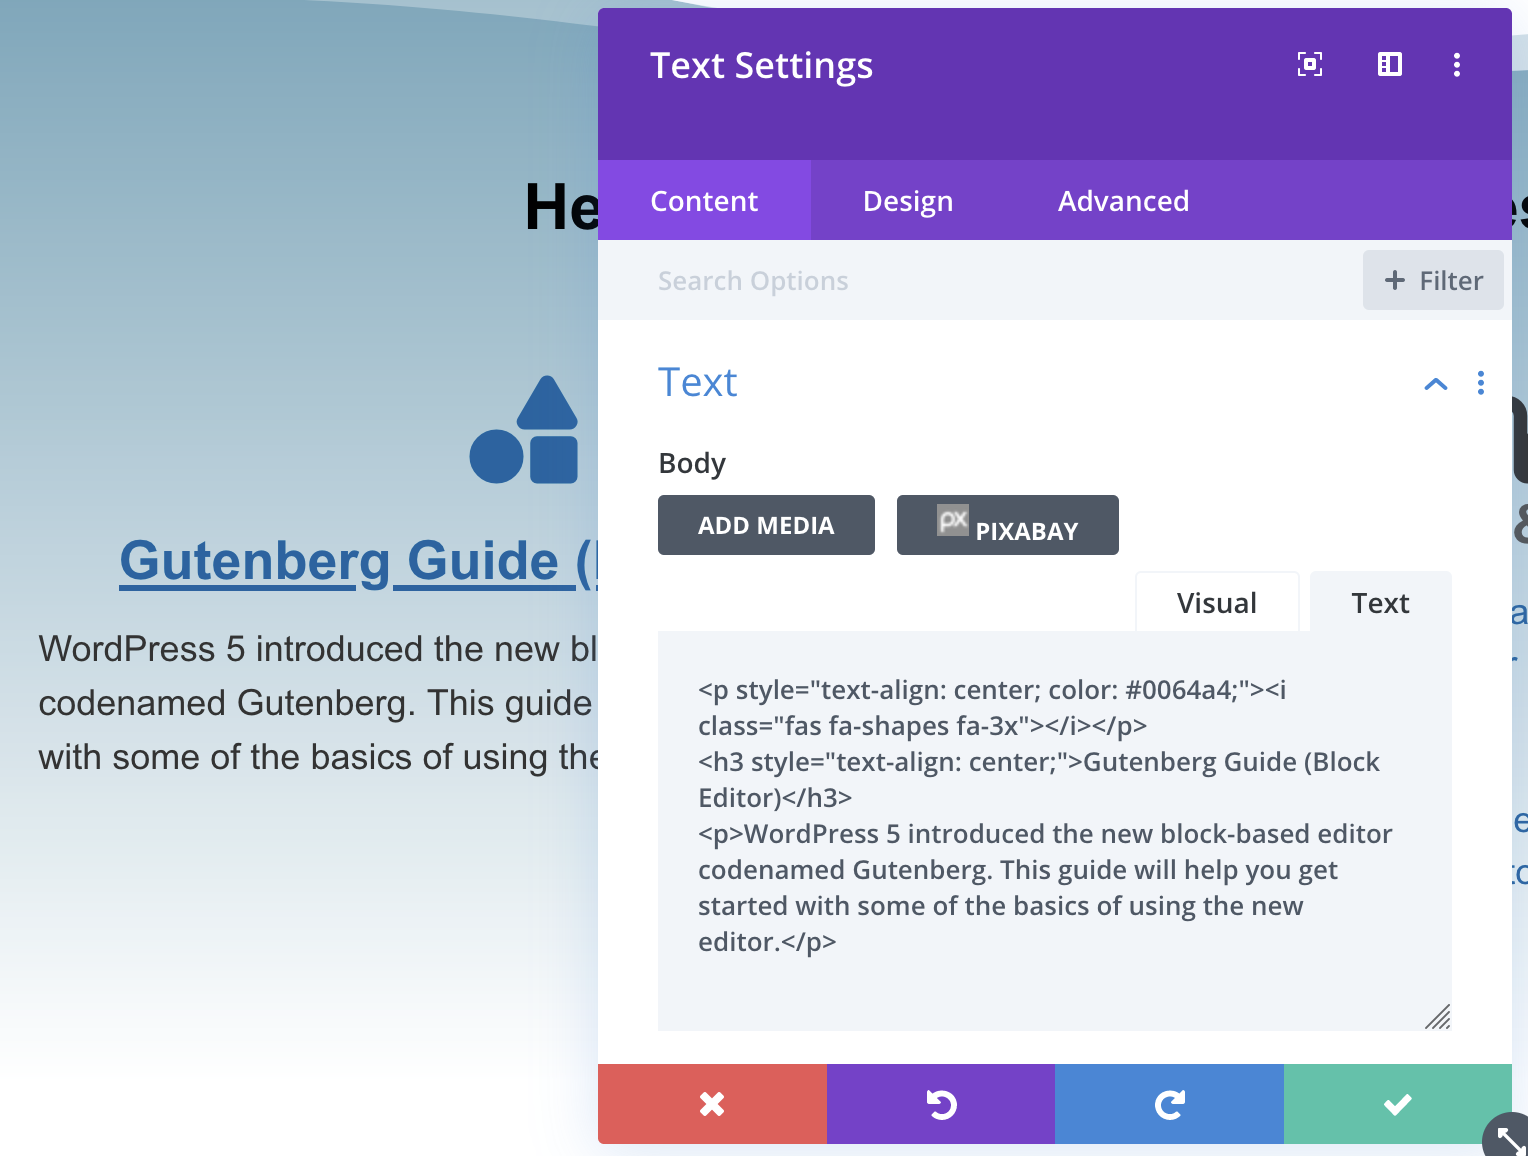
- Click the Text tab when editing the content to show the underlying HTML.
- Add the Font Awesome icon HTML you copied earlier.
- Paste it in the desired location and add the CSS class to change the size if needed.

- Save the module.
- In Divi, you should see the icon in the edit mode since you are seeing the page in real time.
Getting Your Own Font Awesome Kit Code
You will need to create a Font Awesome account to get access to their free kits. Font Awesome also has paid accounts, that add even more icons. As of February 2022, the Pro accounts have 14,865 icons plus other features. The free account will likely be enough, but it’s good to know there are options.
- Go to Font Awesome’s Start page.
- Add your email address and click the “Send Kit Code” button.
- Check your email for confirmation and set up your password and account details.
- Once you’ve set up your account you will be given a Kit Code. You will use this code to add Font Awesome to your site.
- Use the directions above to add your own Kit to the <head> section of your site.
It can seem a little complicated until you do it a few times. You now have the option to use more than 1600 scalable icons to add interest and usability to your site. Give it a try!


0 Comments