PART ONE
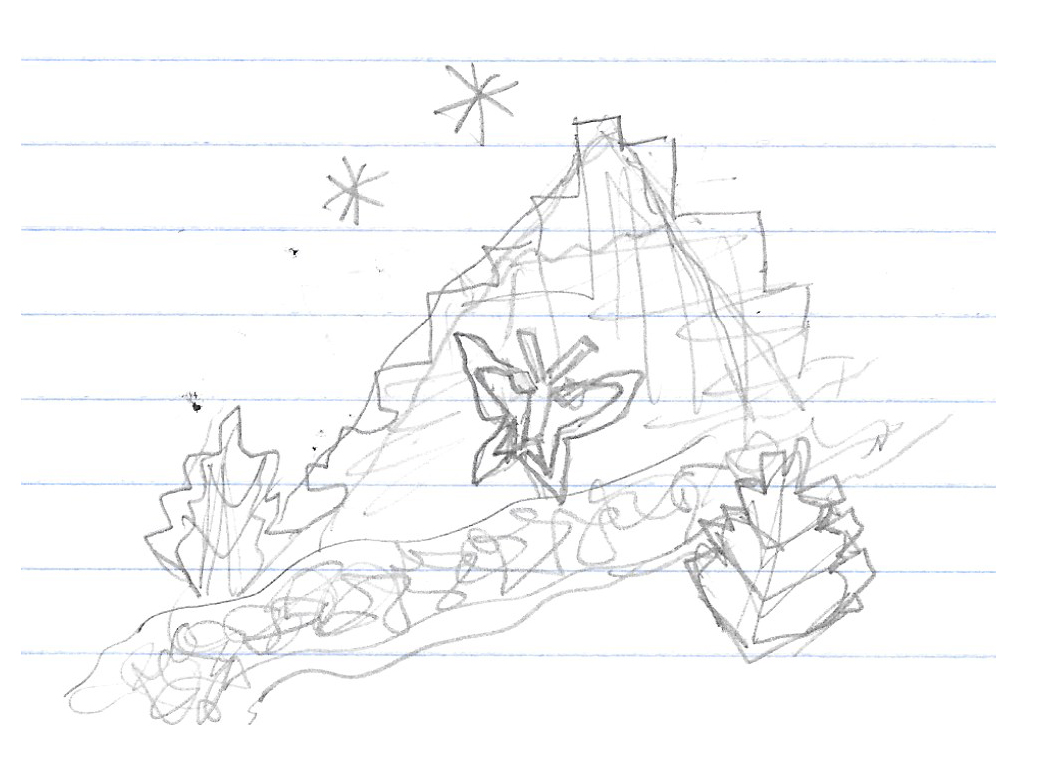
Individually, generate at least one public art idea for all of us to consider. You may provide more than one idea at this stage. Make sketches and notes and post these on the website.
Things to think about:
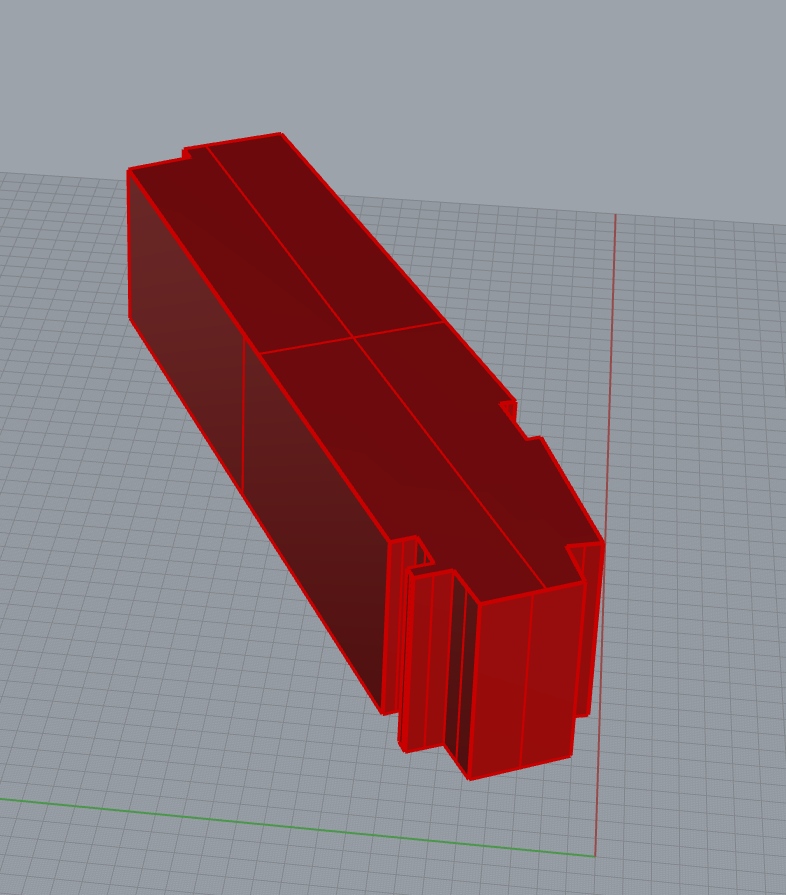
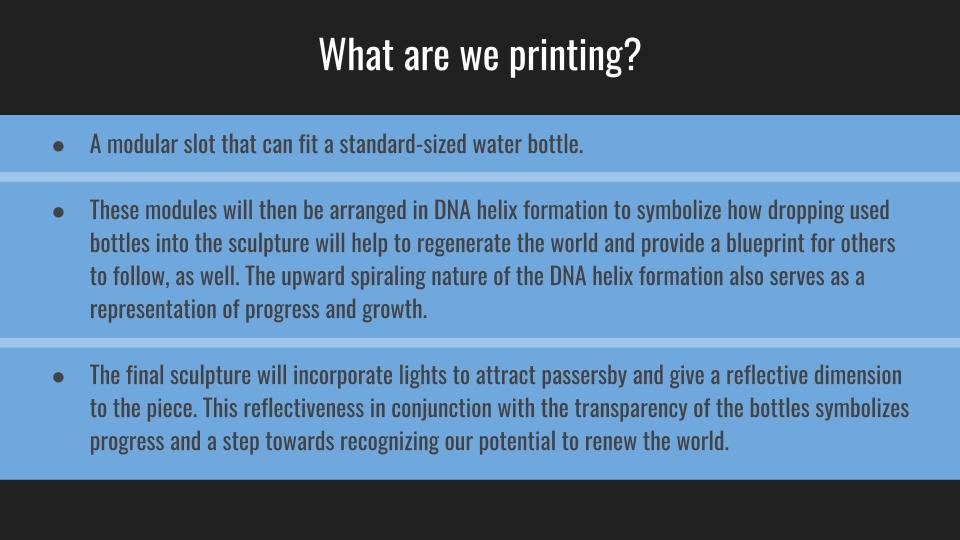
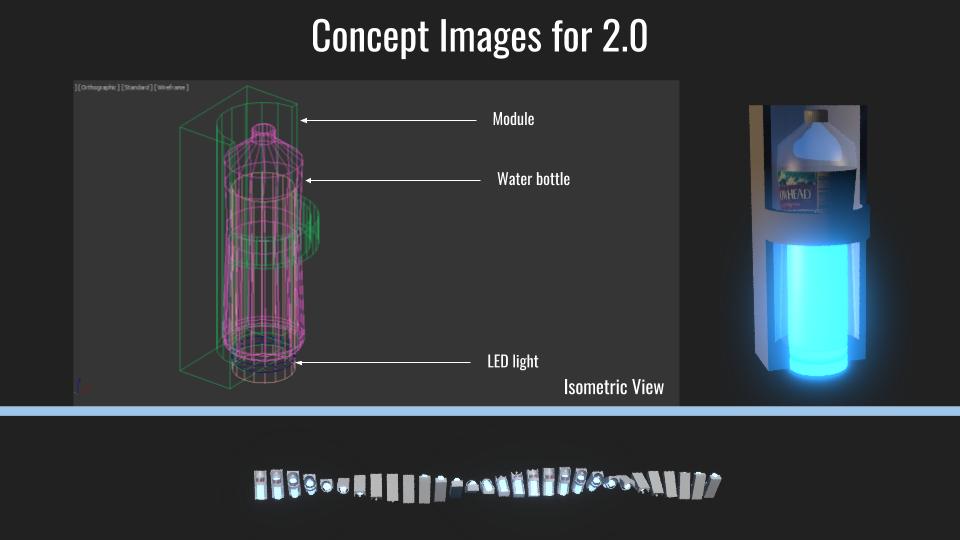
- What are we printing?
- Where will it go?
- Why is it interesting?
- How will we explain it?
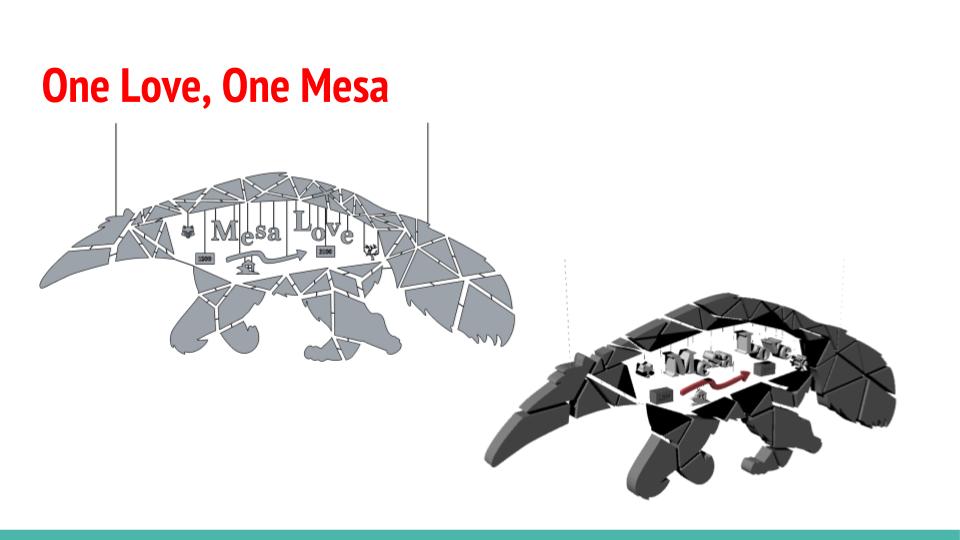
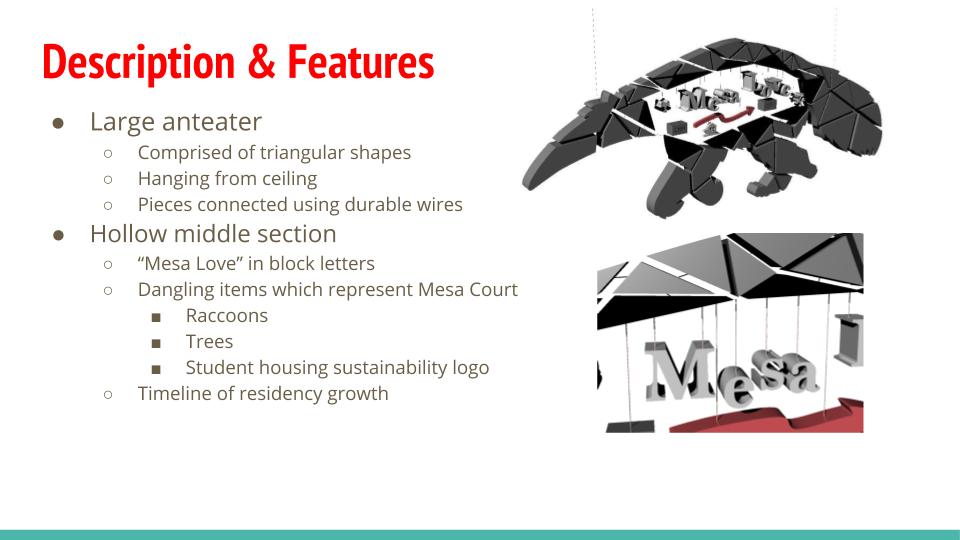
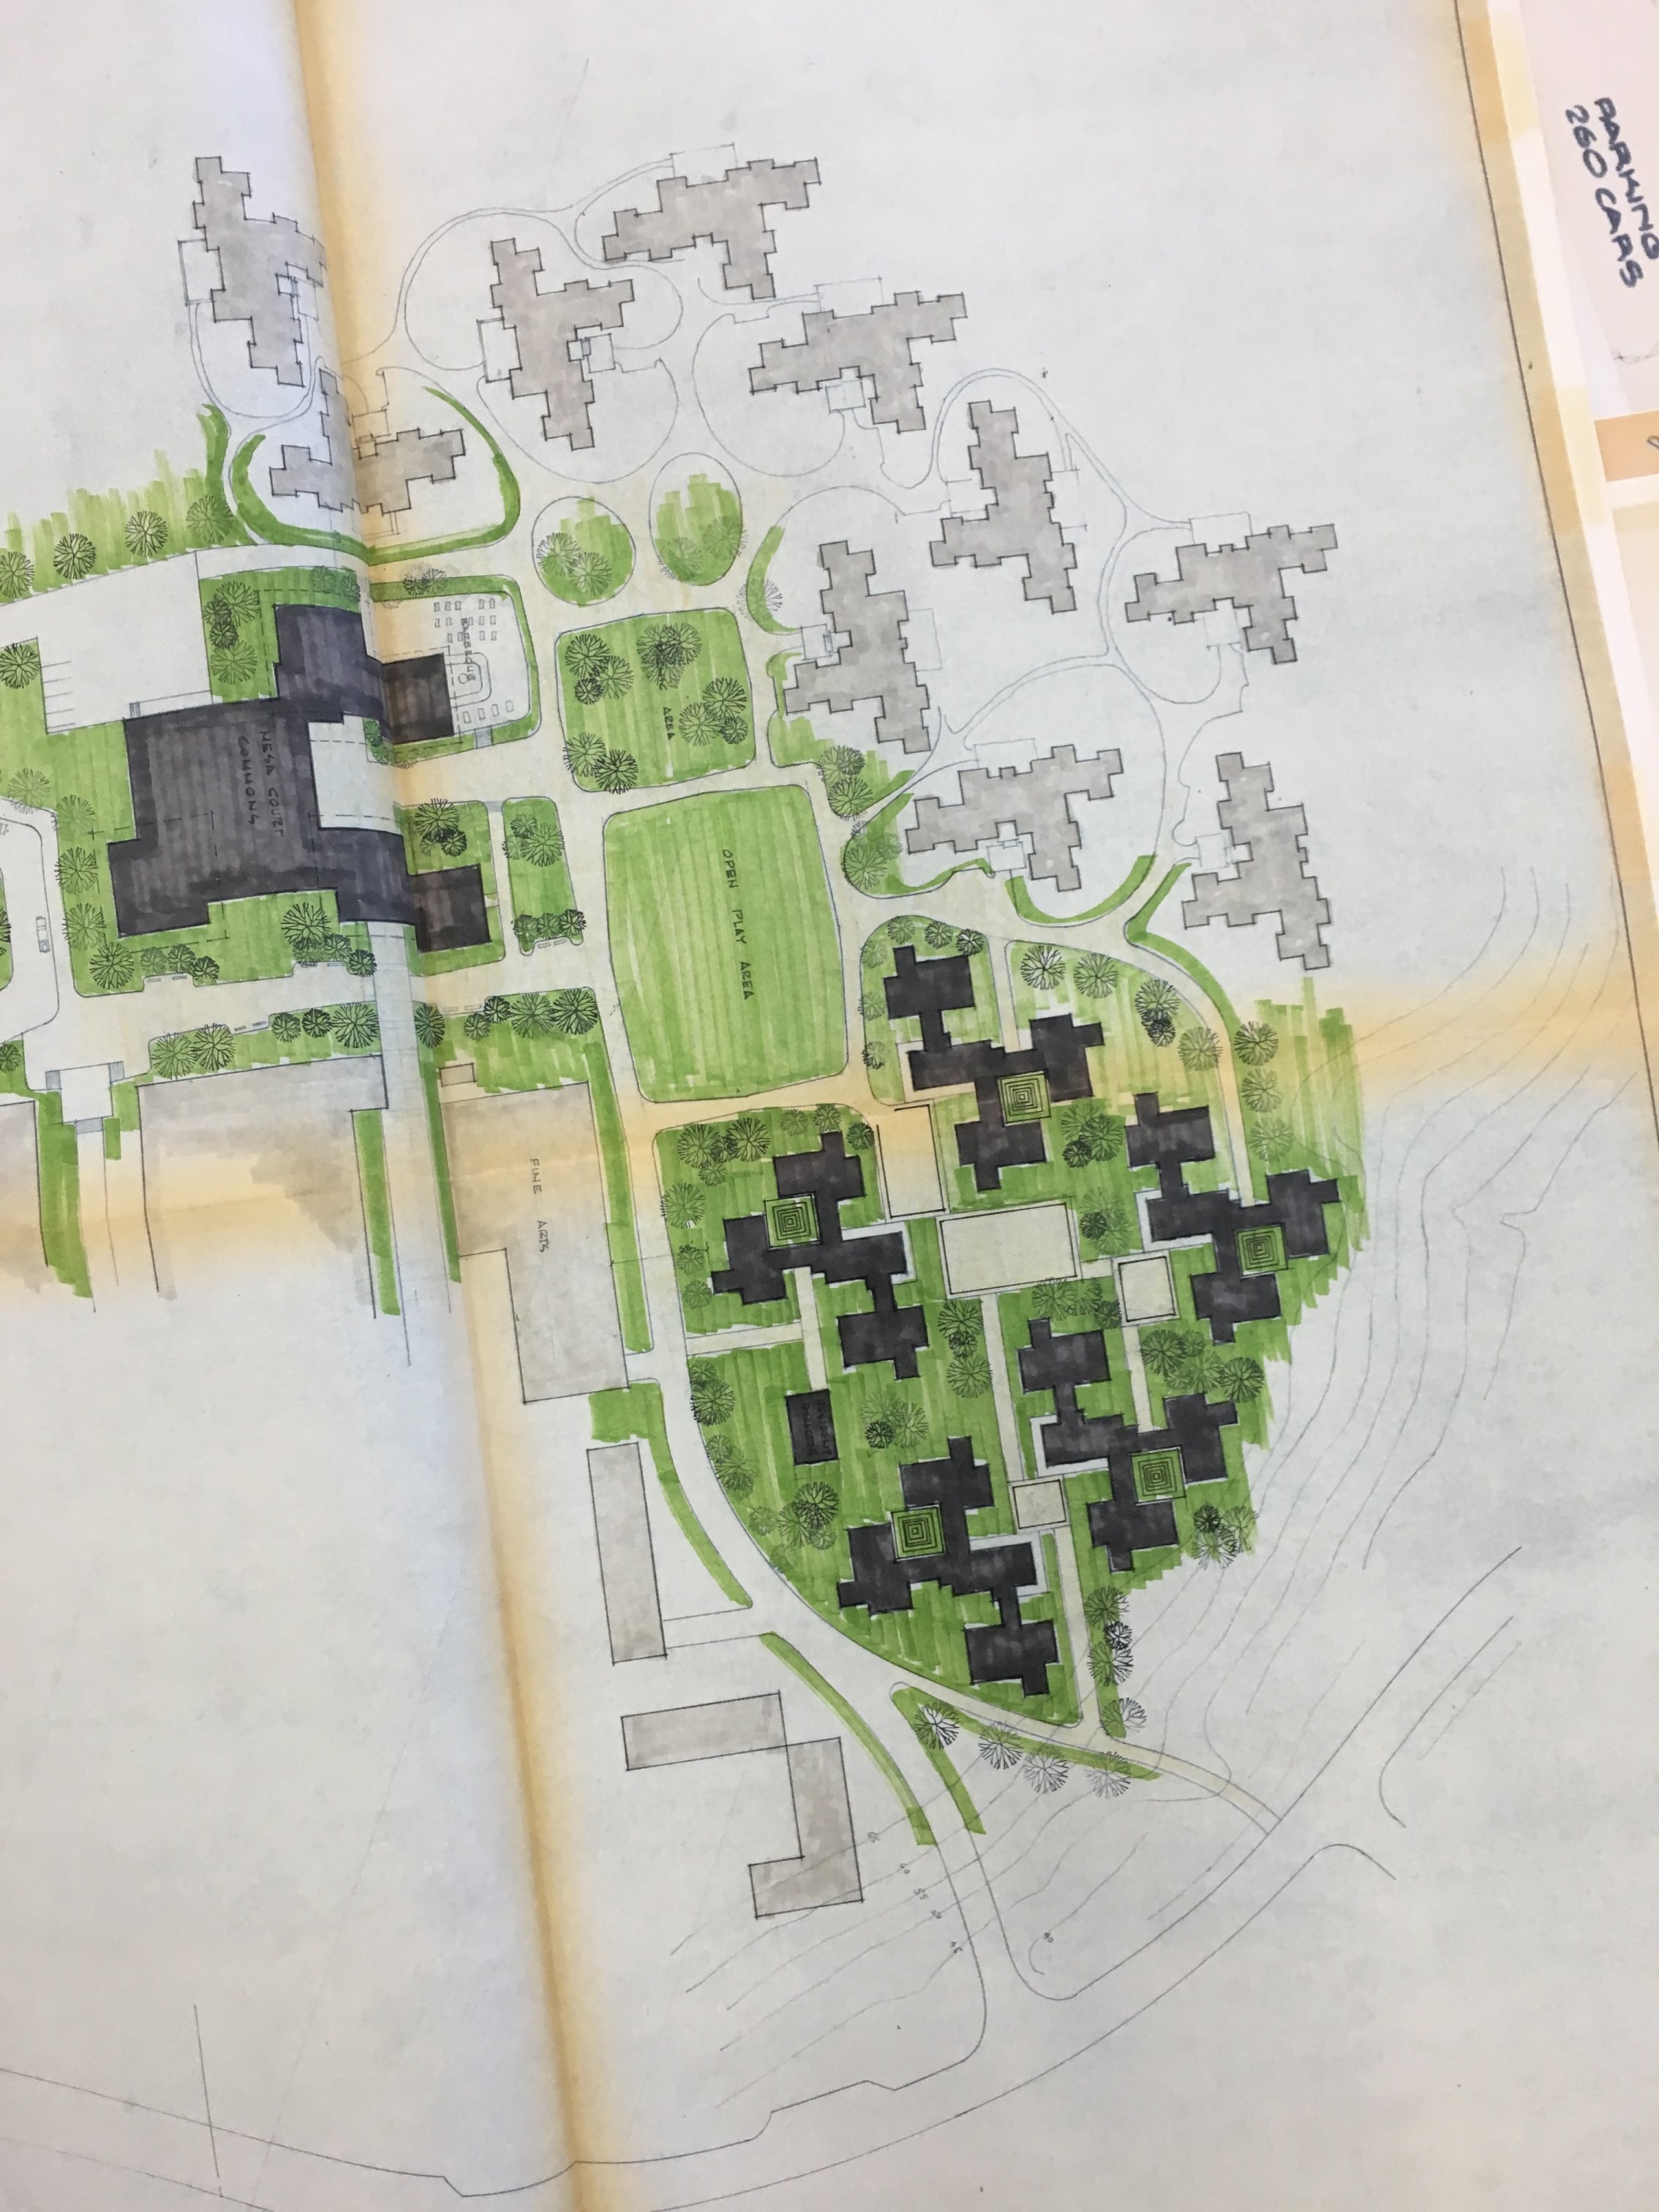
- How does it relate to Mesa Court?
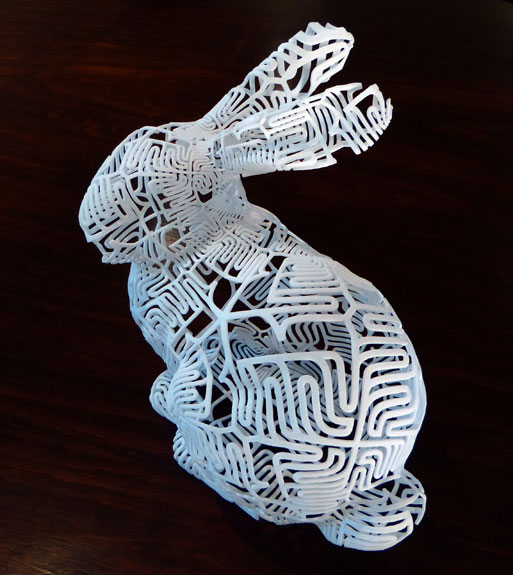
- Printer dimensions: 4″ x 4″ x4″
- Printer materials: currently only black or (maybe) white
Don’t worry about practicality too much at this stage.
For the beginning of class on Thursday, February 15, be prepared to narrate your idea in 2-3 minutes. Be prepared to ask questions about each other’s ideas. We will spend about an hour reviewing your sixteen ideas.
PART TWO
Meet with your original color group. Consider, compare, mix, and merge your ideas and come up with the beginnings of a group proposal. This can be a refinement of one of your individual ideas, or an entirely new idea. For the beginning of class on Thursday, February 22, create a single post for your proposal and be prepared to narrate it for us in 5-7 minutes. Your proposal can be a rough draft at this stage. We will spend about an hour digging deep and identify which proposals provide sufficient potential to move forward.
PART THREE
It is now time to pull out the stops. For the beginning of class on Tuesday, February 27, prepare a comprehensive group proposal, based on (and extending beyond) the feedback you received on February 22. This proposal must be of sufficient caliber that it deserves to be shared with outside audiences (e.g. Lou). Prepare your group’s proposal as a single post on the course website and be prepared to narrate it for us in 8-10 minutes. Give your group’s post a title that includes your team’s name and a proposed title for the public art, e.g “Black Team: The Mesa Court Memory Collector.” Your post may link us to an external location if you would like to include video, Google slides, or other presentation material.
Other than duration (no more than 10 minutes) there is no prescribed format for this presentation, but this is a competitive situation. You should be angling to win us over with the best idea, and having the best presentation–the most impressively detailed, the most attractively illustrated, the most cogent and articulate, the most polished and practiced, the most informative and engaging–will certainly help. We will collectively evaluate your proposals, and this evaluation will count towards your final grade.
Remember that the best art idea is not the most complicated one. Do not try to include everything. Reduce your idea to its essence and maximize from there. Public art, which is consumed at a glance, is often best served by a simple, strong, accessible concept. Sophistication emerges from the carefully calibrated execution of this concept. Your proposal should clearly describe both your concept and its execution.
By the end of class, we will have selected a final direction to pursue. This is not to say that we will produce the winning group’s idea as specified. Instead, we will use this proposal as an advanced point of departure for our final collective effort.
PART FOUR
Congratulations! Having selected a final direction you are now in the home stretch. For the beginning of class on Tuesday, March 13, in groups of your own selection, prepare draft components of a final presentation that specifies, in detail, everything necessary to complete our Mesa Court Public Art project by the end of Spring quarter. This final presentation, delivered to our Mesa Court partners, will take place on Thursday, March 15.
PART FIVE
All activities related to completing our Mesa Court Public Art project are to be completed by noon on June 7, 2018, for a launch event to take place that evening. Details TBA.


